
Last updated November 21, 2026
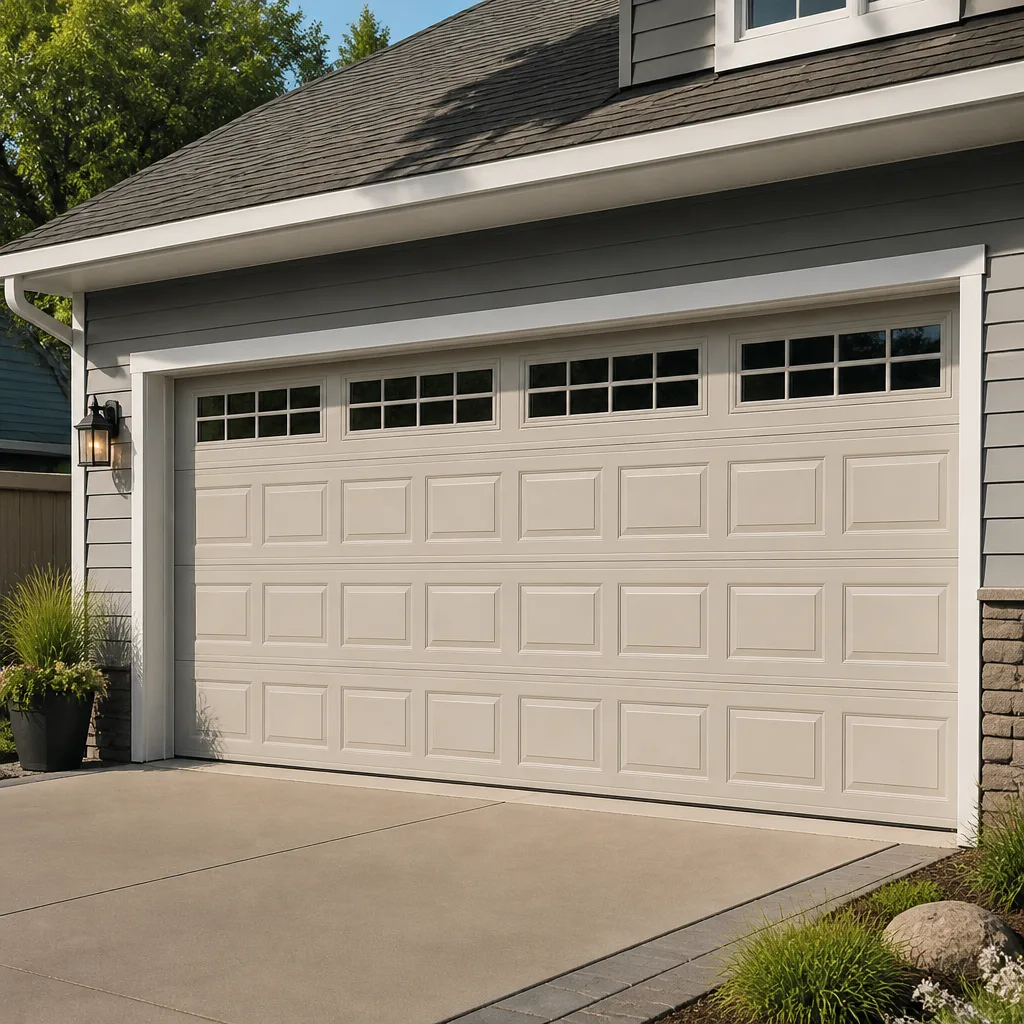 Raised-panel steel
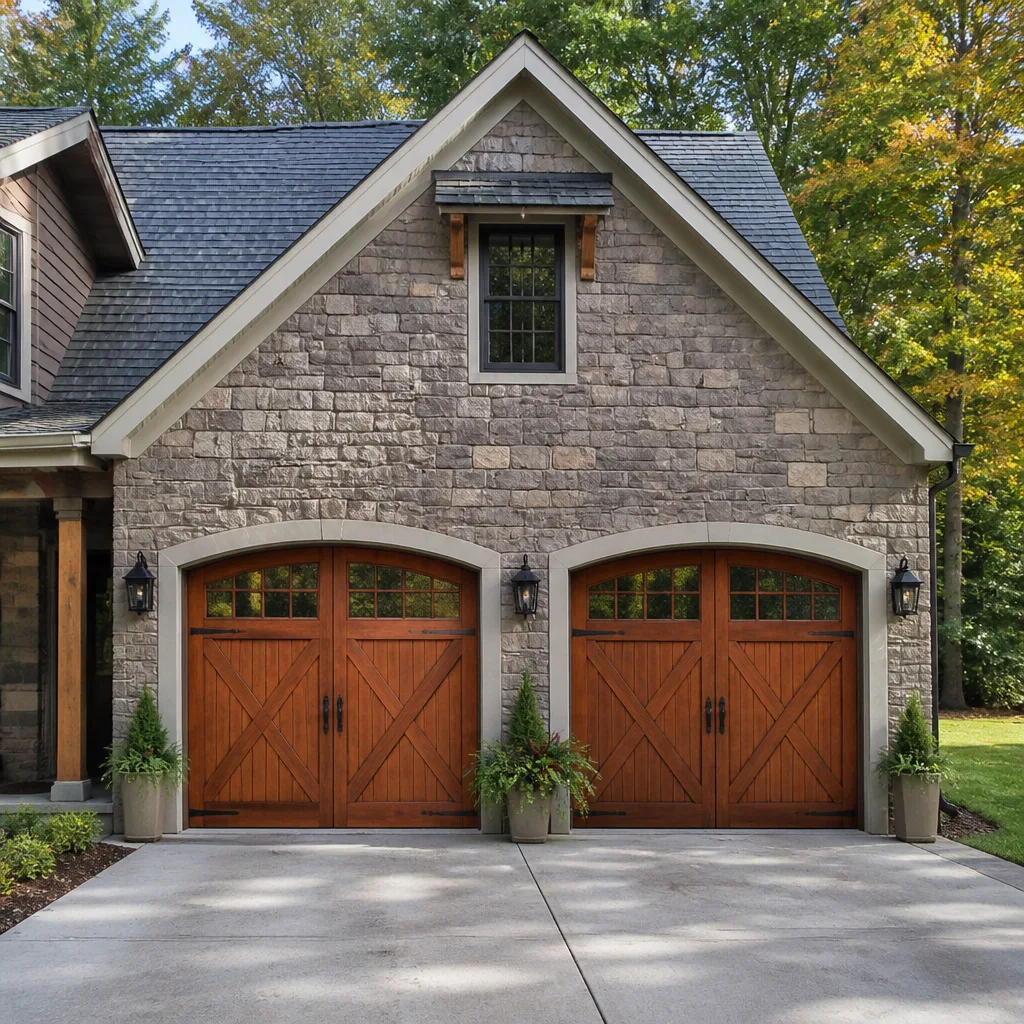 Carriage house
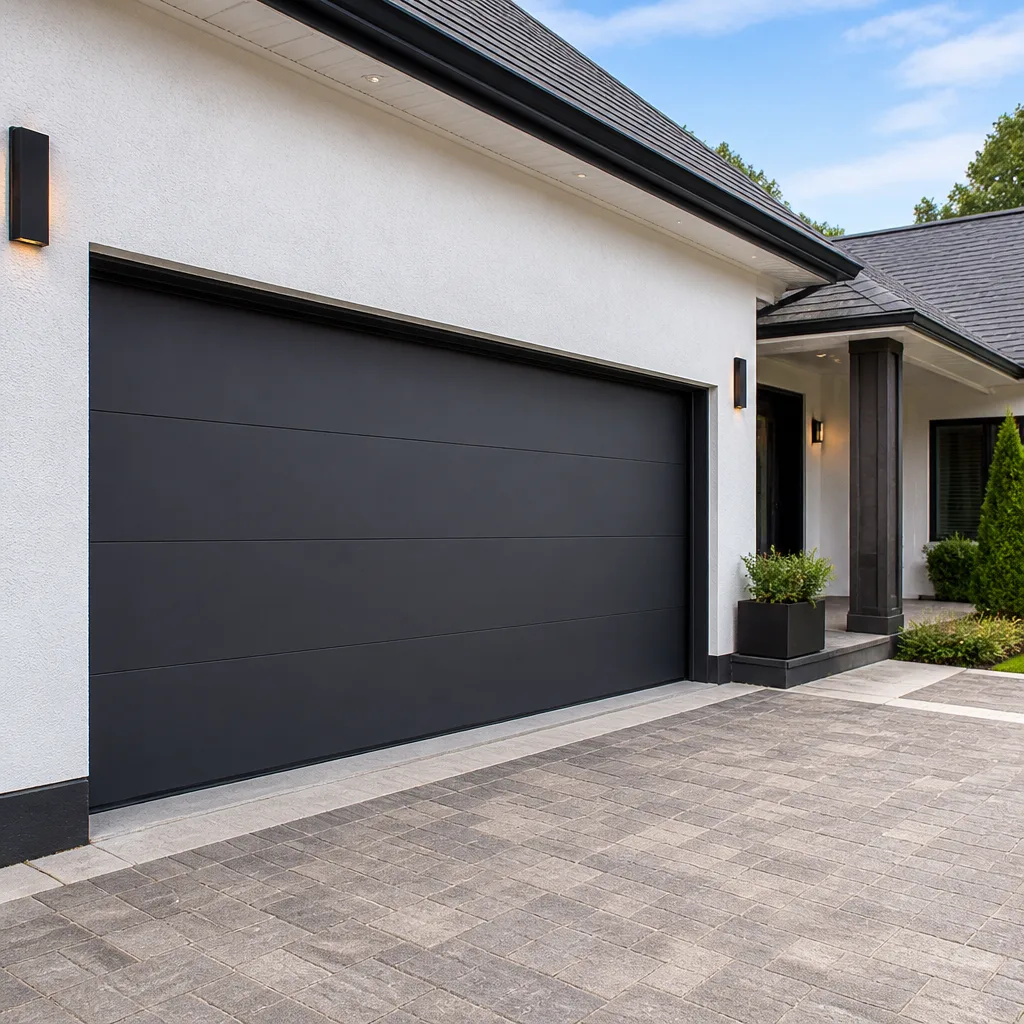 Modern flush
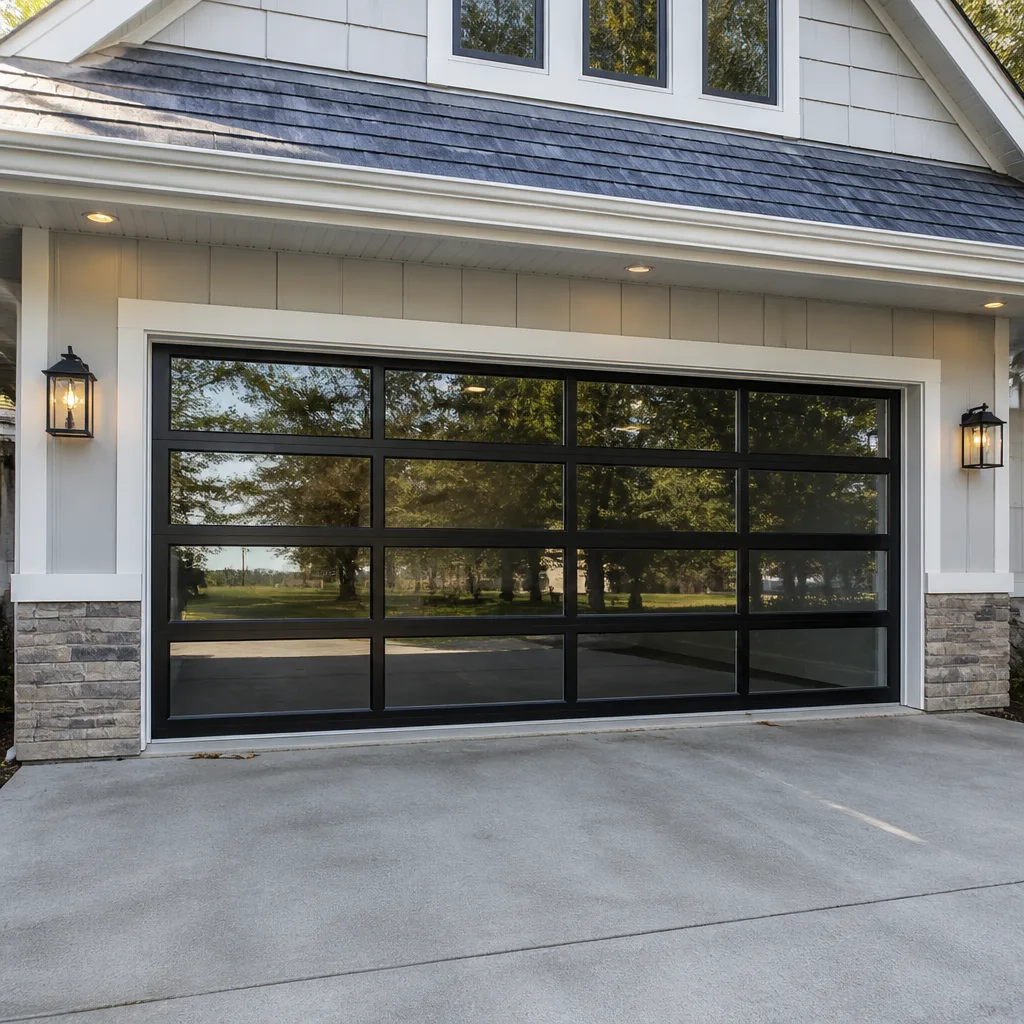 Full-view glass
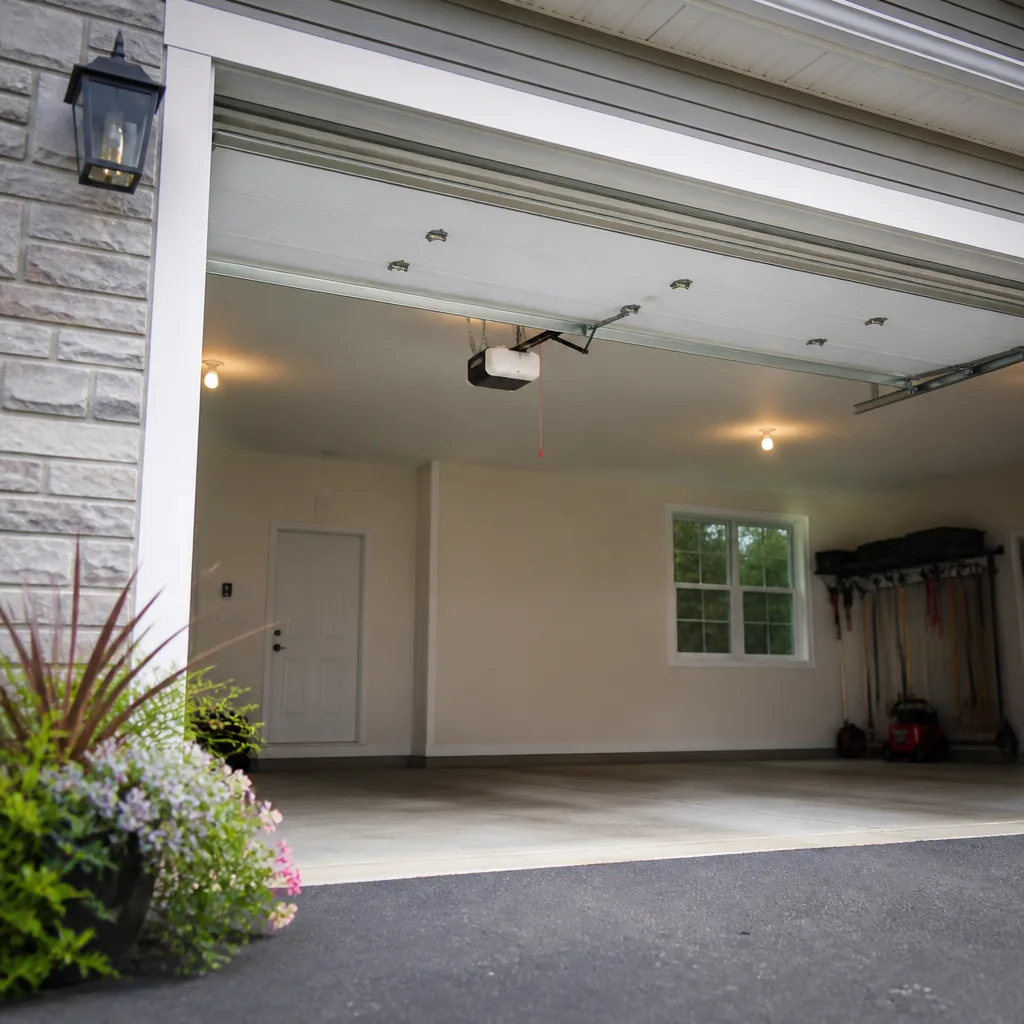 LiftMaster openers
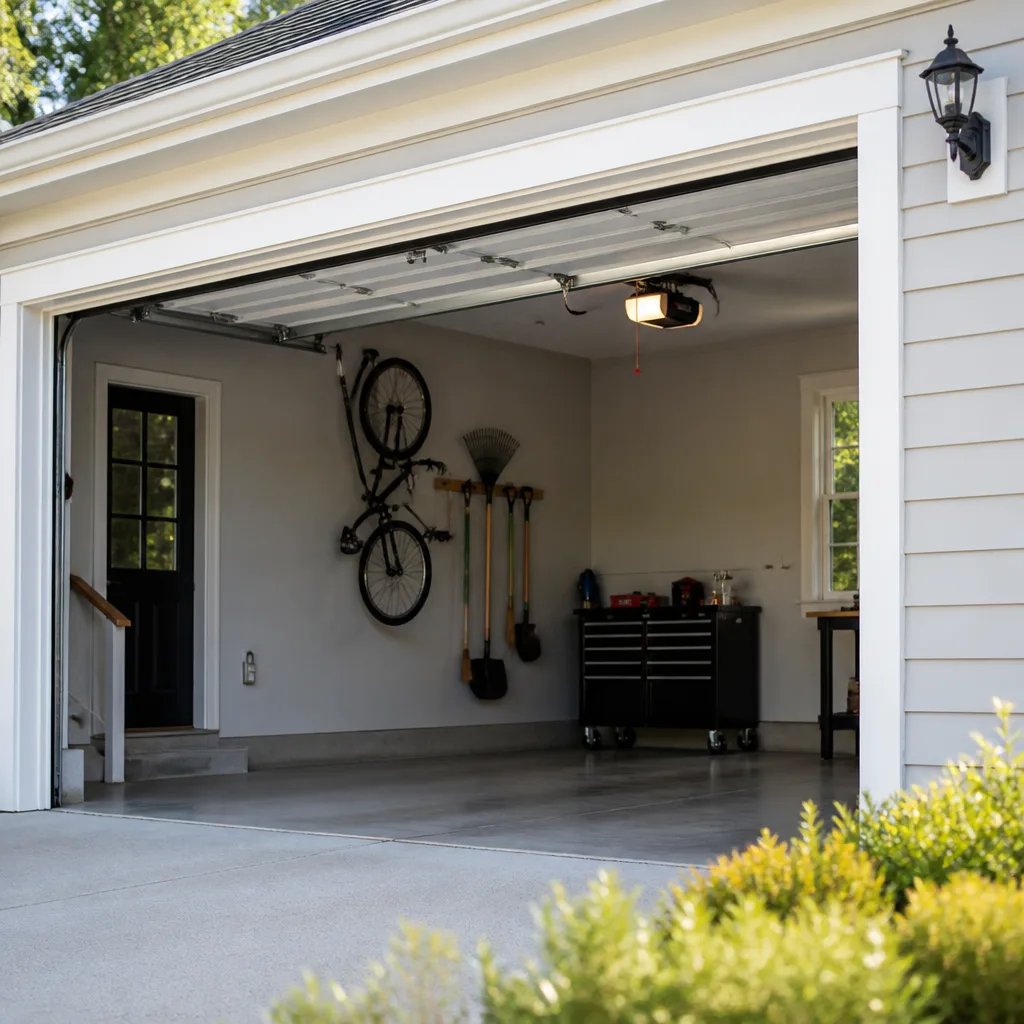 Chamberlain openers
Full 25-point door and opener safety check with every visit - springs, cables, rollers, tracks, and your LiftMaster or Chamberlain opener included
You get a price before we start. It does not change when the pro arrives.
Get your free estimateDIY vs Professional Garage Door: The Cape Coral Homeowner’s Decision Guide
Most homeowners assume the DIY line falls where their skill level ends. It doesn’t. Garage doors are one of the few systems around a house where the same metal assembly holds a job you can finish safely in twenty minutes and a job that can break your arm before you hear it snap. Torsion springs are the second part. A bottom seal or a keypad reprogram is the first. The gap between them isn’t confidence, it’s physics and liability.
This guide draws that line clearly for Cape Coral homeowners. You’ll learn which tasks are genuinely safe to handle, which ones require training and specialty tools, how a panel swap can interact with windstorm insurance, and when hiring out actually saves money instead of just convenience. By the end, you’ll know exactly what to touch and what to leave alone.
Quick Answer
Safe DIY garage door tasks in Cape Coral are limited to low-risk, non-load-bearing work: replacing a bottom seal, lubricating rollers and hinges, resetting a travel limit, adjusting photo-eye alignment, and reprogramming a keypad or remote. Everything involving torsion springs, cables, drums, panel replacement that alters wind-load ratings, or opener capacitor and circuit board work belongs with a trained technician. The dividing line isn’t difficulty, it’s stored energy and insurance consequence.
Styles & brands we work with
- Raised-panel steel
- Carriage house
- Modern flush
- Full-view glass
- LiftMaster openers
- Chamberlain openers
Table of Contents
- Where the Real DIY Line Falls
- Tasks That Are Genuinely Safe for Cape Coral Homeowners
- Tasks That Require Professional Tools and Training
- Why Panel Replacement Is a Florida Insurance Question
- Cost-Benefit Reality: When Hiring Out Saves Money
- The Tools You Actually Need (and the Three That Signal It’s Out of Scope)
- Common DIY Mistakes on “Easy” Jobs
- When to Call a Professional
Where the Real DIY Line Falls
The garage door is a counterweighted system under continuous tension. That counterweight is a torsion spring (or a pair of extension springs on older doors), and it holds enough stored energy to move a door that weighs a couple hundred pounds. The moment you understand that, the DIY question changes. It’s not “can I do this?” It’s “am I working on the tensioned part of the system, or the parts hanging off it?”
Everything on the outside of the spring line is friendly. Seals, weatherstripping, rollers, hinges, photo-eyes, remotes, keypads, the interior light bulbs, the manual release cord. You can touch all of it. Everything on the spring line – the springs themselves, the cables, the drums, the center bearing plate, the bottom bracket where the cable anchors – is off limits without training. That’s not a marketing line. It’s the same rule every legitimate garage door company in Cape Coral operates under, because those parts fail under load and the load doesn’t ask questions.
In our experience walking through Cape Coral neighborhoods from Pelican to Cape Harbour, the DIY attempts that go wrong follow a pattern. Homeowners are usually fine with the safe tasks. The problem starts when a door starts binding and someone decides a wrench will fix it. Binding is a symptom of a spring, cable, or track problem – not something you solve with brute force.
So here’s the framework this whole guide rests on: do the safe jobs yourself, call a pro for anything tensioned, and don’t confuse the two because a YouTube video made it look simple. See our Cape Coral Garage Door Repair Co overview for the full range of what we handle.
Tasks That Are Genuinely Safe for Cape Coral Homeowners
These jobs don’t touch stored energy, don’t move structural panels, and won’t affect your insurance. They’re the ones worth doing yourself.
- Replacing the bottom seal. A worn bottom seal lets in rain, insects, and the occasional lizard. Slides out of the retainer and back in. Ladder and a new seal only.
- Lubricating rollers, hinges, and the torsion bar bearings. A quick job every few months. White lithium grease on the hinges, a specific garage door lubricant on the rollers. Skip WD-40 on the tracks – it attracts dust and grit.
- Resetting travel limits on the opener. If the door stops short of the floor or reverses before reaching it, this is an opener programming task, not a door task. Your opener manual has the steps; on LiftMaster and Chamberlain units it’s usually a few button presses on the head unit.
- Aligning and cleaning photo-eye sensors. The two small lenses near the floor. Wipe them, check that the indicator light is solid, adjust the bracket if knocked.
- Reprogramming a remote or keypad. A Genie or Chamberlain keypad reset takes about five minutes. If the opener is Wi-Fi enabled, re-adding the door to the app is even simpler.
- Replacing the opener light bulbs. Check the manual for the correct bulb type – LEDs sometimes interfere with remotes.
- Re-engaging the manual release after a power outage. Pull the cord, lift the door by hand about a foot, let it settle, then re-engage. No tools.
- Tightening loose hinge screws – gently. See the mistake section below for why “gently” matters.
The theme across every task on this list: nothing moves the door’s weight, and nothing alters the spring or cable system. If you can climb a step ladder, hold a screwdriver, and read a manual, you already have what you need. For everything past this point, see our garage door repair page.
Tasks That Require Professional Tools and Training
These are the jobs where a homeowner can get seriously hurt, or where a botched fix creates a larger problem down the line. In Cape Coral, where garages are attached to nearly every home and summer heat cycles the springs through expansion and contraction all year, the failure risk is real.
- Torsion spring replacement. Requires winding bars, a proper understanding of how many quarter-turns the spring holds, and control of a live spring under tension. This is the single most dangerous garage door repair. No exceptions.
- Cable replacement. The cable is what ties the bottom bracket to the drum, and both ends are under spring tension. A snap sends the cable whipping fast enough to cause serious injury.
- Drum and center bearing plate work. Both hang off the spring line. Not a homeowner job.
- Bottom bracket removal or adjustment. The bottom bracket is the anchor point for the cable and, in older doors, could still carry residual tension. Leave it.
- Track straightening or replacement. Rails look simple, but they’re load-bearing. Bending them back changes the geometry of the whole door.
- Panel replacement that changes wind-load rating. See the Florida insurance section – this one has stakes beyond mechanical.
- Opener capacitor, circuit board, or motor replacement. This is high-voltage electrical work inside a metal enclosure mounted overhead. Not safe on a ladder.
- Roller bracket re-drilling on metal doors. Changes the door’s structural load path.
If you’re not sure which category a task falls into, this is the honest rule: if the door might move or fall while your hands are near a moving part, it’s a pro job. A technician has the winding bars, the spring calibration knowledge, and the physical control to work safely. Our technicians have up to 14 years of experience handling exactly these jobs, and we cover the major brands Cape Coral homeowners already own – LiftMaster, Chamberlain, Genie, Clopay, Amarr, Wayne Dalton, Craftsman, and Raynor.
Why Panel Replacement Is a Florida Insurance Question
Replacing a garage door panel sounds like a weekend project. On most Florida homes, it isn’t – not because of the tools, but because of the paperwork. Garage doors are part of the building envelope, and in Florida the building envelope is tied to your windstorm mitigation rating. When you change a panel on a door that was rated to a specific wind-load specification, you may be changing the rating your insurer relied on.
That doesn’t mean every panel swap voids coverage. It means the process should look like this:
- Before any panel is ordered, contact your insurance carrier and ask whether the change requires documentation, an inspection, or a re-rated assembly.
- If your door was installed as part of a wind-mitigation-rated system, the replacement door should match the original specifications. Same brand, same rating, same anchor pattern.
- Keep the door’s installation documentation and the manufacturer’s rating sheet. Insurers sometimes ask for it.
- If a contractor quotes the work, ask them to confirm the replacement door’s rating and to provide documentation you can forward to your carrier.
We’re not insurance specialists, so we won’t guess at your specific policy. What we will say is that the cost of a panel job is small next to the cost of a compromised windstorm rating. If the DIY project removes your coverage or triggers a rate increase, the labor savings evaporate. A free estimate for garage door installation will often reveal that a properly rated replacement costs less than the risk of a mismatched panel. Whatever route you take, ask your carrier before you buy, not after.
Cost-Benefit Reality: When Hiring Out Saves Money
The DIY vs professional question gets framed as a character test. It isn’t. It’s arithmetic on four variables: the cost of the part, the cost of your time, the cost of a failed attempt, and the cost of any insurance or safety risk. Here’s how that math plays out by job type.
- Bottom seal replacement. Part costs very little, labor is 20 minutes. DIY wins clearly. No safety risk.
- Lubrication and tune-up. DIY wins for the lubrication. A professional tune-up earns its cost because a trained eye spots worn rollers, fraying cables, or a spring approaching failure. The tune-up prevents a bigger job.
- Remote or keypad programming. DIY wins unless the opener is older and the documented steps no longer match the unit. Then a garage door opener repair visit makes sense.
- Travel limit and force adjustment. DIY wins if the manual is clear and the door otherwise moves smoothly. If the adjustment doesn’t hold, that’s a symptom, and it’s time to call.
- Roller replacement. Borderline. The parts are cheap for a homeowner, but experienced hands do the full set in one visit and check the rollers’ alignment along the way. For homeowners who’ve never removed a roller, the pro wins.
- Spring replacement. Pro wins entirely. There is no DIY cost saving that justifies the injury risk, and a mis-sized spring will fail again quickly.
- Opener replacement. Pro wins on safety and warranty. A homeowner-installed opener can void the manufacturer’s warranty, and the electrical work isn’t a ladder job.
- Panel or full door replacement. Pro wins on rating documentation and fit. See the insurance section above.
One more thing worth saying plainly: when the job is genuinely a task we can hand back to you (“wipe the photo-eye, check the seal, reprogram the remote”), we’d rather you keep the money. The Cape Coral Garage Door Repair Co job is the tension side of the door, not the easy side.
The Tools You Actually Need (and the Three That Signal It’s Out of Scope)
If you’re going to handle the safe DIY tasks, here’s the honest toolkit. It fits in a single small bag and costs very little.
- A step ladder tall enough to reach the opener head unit and the top hinges.
- A set of nut drivers and a cordless drill-driver with an adjustable clutch. The clutch matters – more on that below.
- A putty knife or plastic scraper for removing the old bottom seal.
- A spray can of garage door lubricant (specific product, not WD-40) and a tube of white lithium grease.
- A soft cloth and a small brush for cleaning photo-eye lenses and track channels.
- A multimeter, only if you’re comfortable with basic low-voltage checks on the opener’s photo-eye wiring.
- The opener manual. If you don’t have it, most manufacturers publish it by model number – check the label on the head unit.
Now the three tools that tell you the job is out of scope. A pair of winding bars (the solid steel rods used to wind torsion springs) – if you need them, you need a technician. Cable grip pliers or a cable puller – cable work is a pro job. And a torque wrench or spring scale for calibrating the door’s balance – if the setup calls for it, call us.
Notice what’s missing from the list: nothing overhead, nothing motorized, nothing that invites you to put weight on the door’s spring line. That’s the point. Whether you own a LiftMaster opener or a Raynor door, the safe toolkit is the same. In our experience, homeowners who invest in the safe tools tend to handle their DIY jobs well and know exactly when to stop. For openers specifically, our garage door opener repair team covers both the smart-home LiftMaster and Chamberlain systems and the legacy Genie and Craftsman models still common around Cape Coral.
Common DIY Mistakes on “Easy” Jobs
The safe list stays safe only if you avoid a handful of mistakes that turn a 20-minute job into an expensive one. These come up often enough that we recognize them on sight.
- Over-tightening hardware on steel doors. Steel panels are thin. A cordless drill with the clutch set high will strip a self-tapping screw or crush the panel’s hole, and once the hole is stripped you can’t re-tighten the same screw. Use the clutch on a low setting and finish by hand.
- Using the wrong lubricant on nylon rollers. Nylon rollers don’t need grease, and standard petroleum lubricants degrade the nylon. Use a silicone-based spray if the manufacturer calls for it, or nothing at all. Where homeowners go wrong is reaching for whatever’s in the garage and using it on every moving part.
- Forcing a door that’s binding. If the door binds, catches, or reverses, the fix is diagnosis, not muscle. Forcing it can bend a track, snap a cable, or damage a panel. Stop and figure out why before you push harder.
- Adjusting the opener’s force setting instead of fixing the door. The force setting is a safety fallback, not a power boost. Turning it up to overcome a stiff door masks the underlying problem and defeats the opener’s safety reversal.
- Disconnecting the manual release on a door with a broken spring. If the spring has failed, the door is very heavy. Pulling the release on a broken-spring door can drop it fast. If the door won’t lift by hand easily, don’t pull the cord – call for repair.
- Buying a replacement remote without checking the opener’s frequency and protocol. Modern LiftMaster and Chamberlain units use rolling-code protocols that older remotes won’t pair with. Match the remote to the opener’s model, not to what’s on the shelf.
- Drilling into a panel or track to add a bracket. Any new hole changes the door’s structural load path and, on a rated door, can change how it responds.
Each of these mistakes has a fix, but each fix costs more than the original job would have. A free estimate for garage door repair is cheaper than undoing an over-torqued screw pattern or a bent track.
See the difference
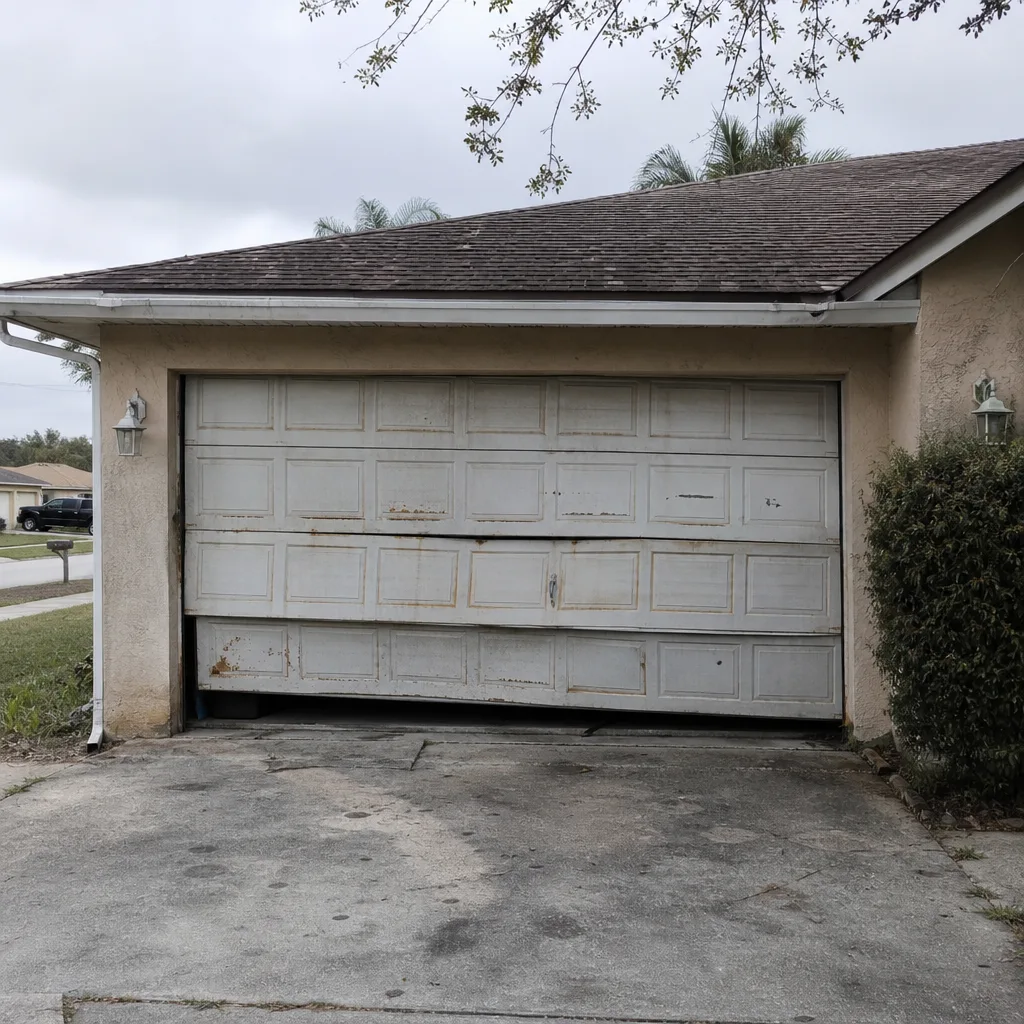 Before
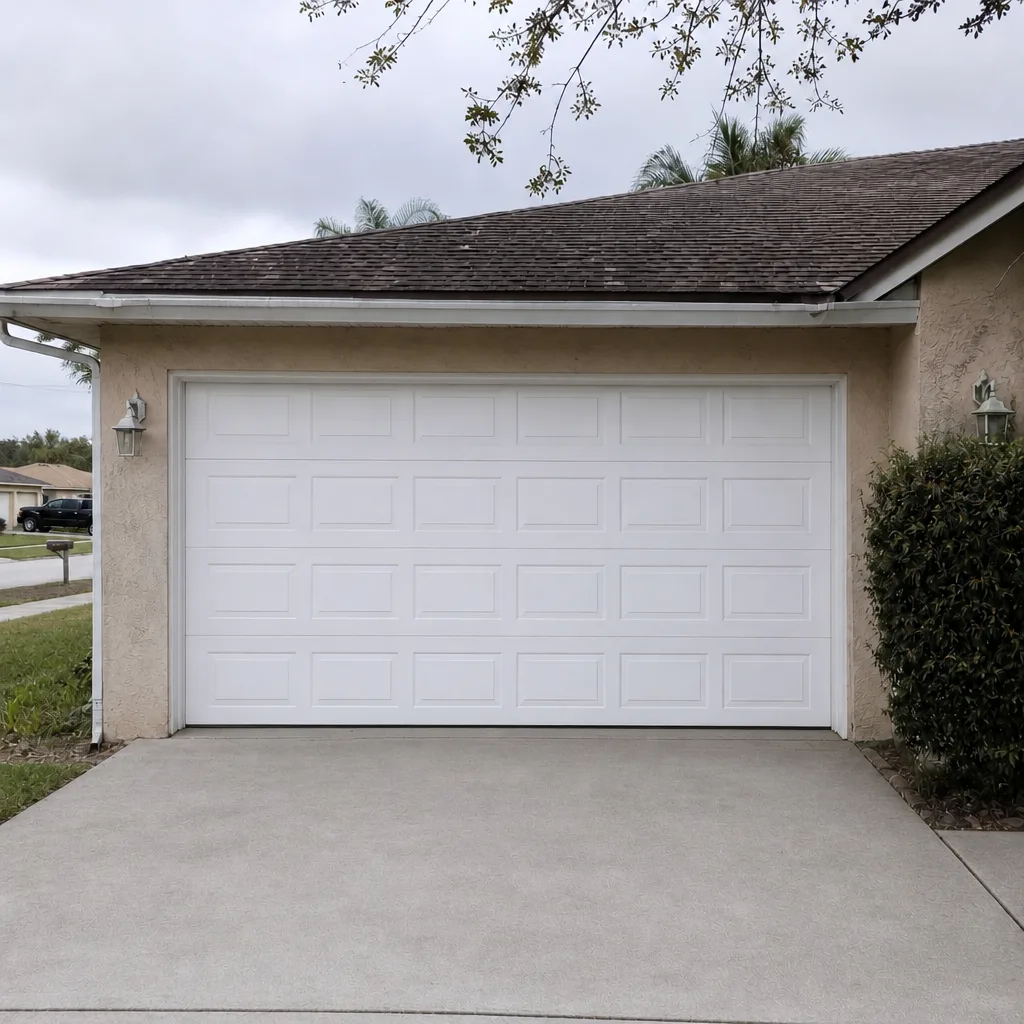 After
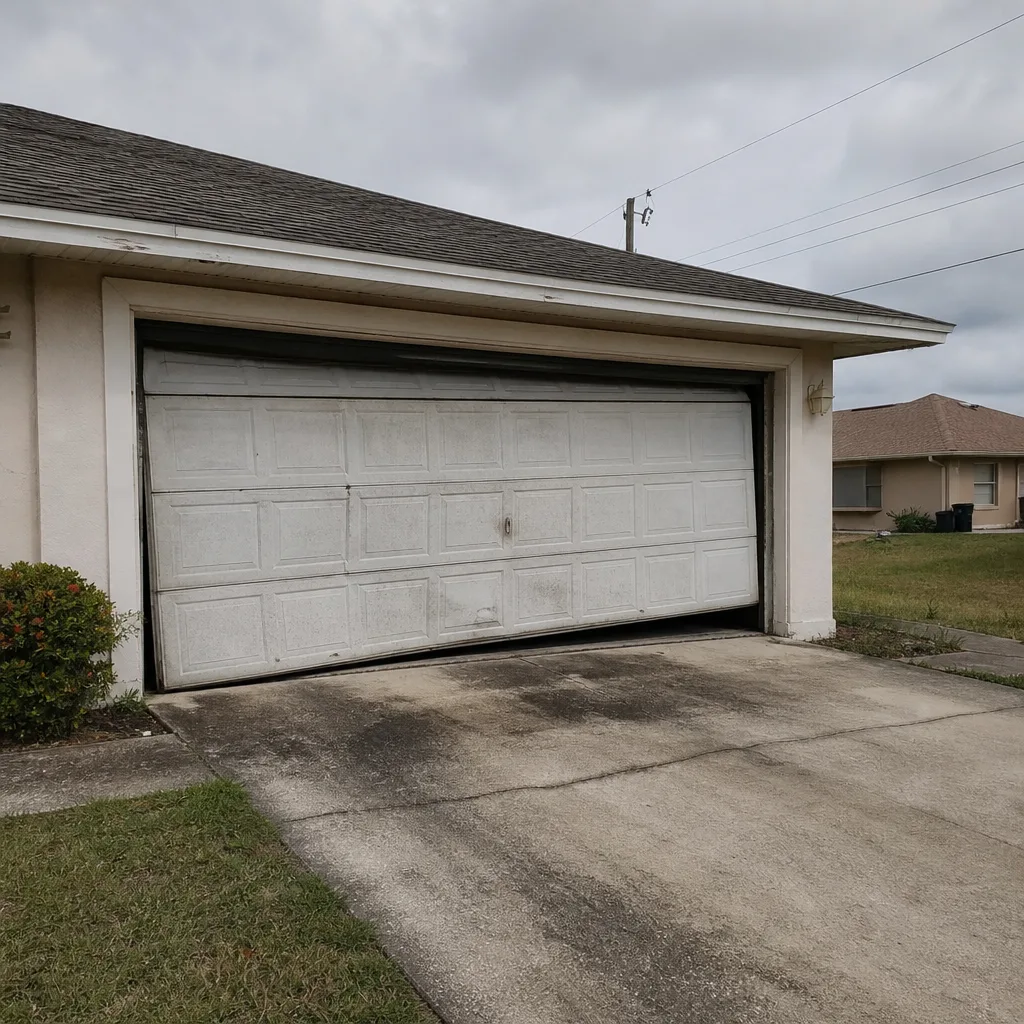 Before
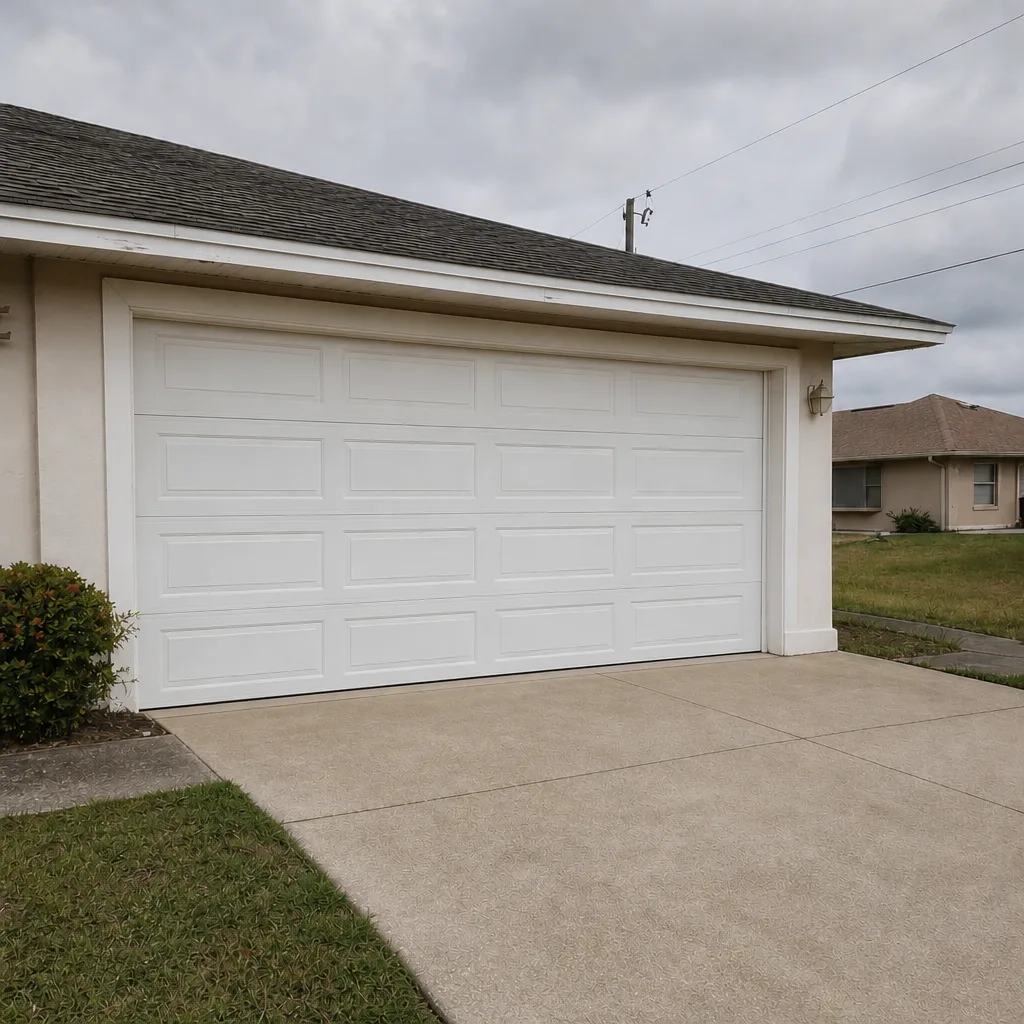 After
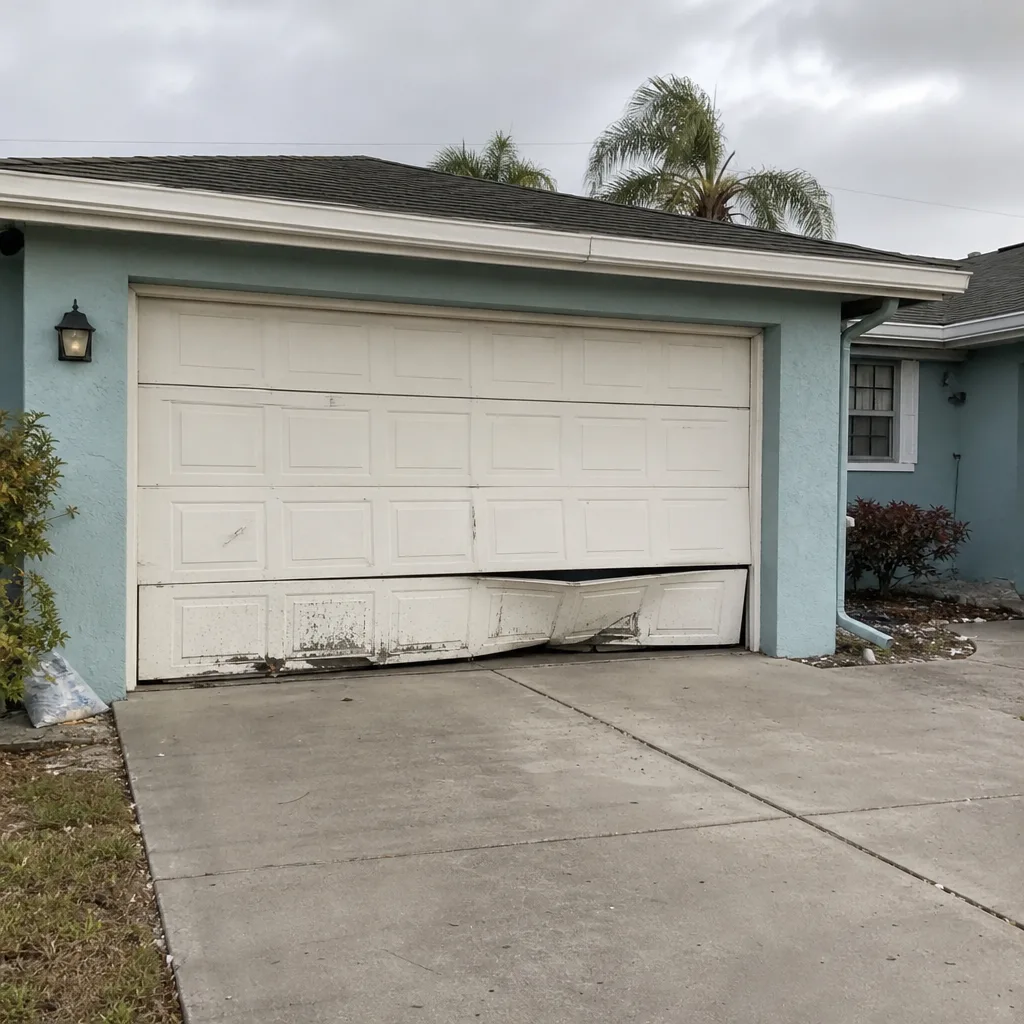 Before
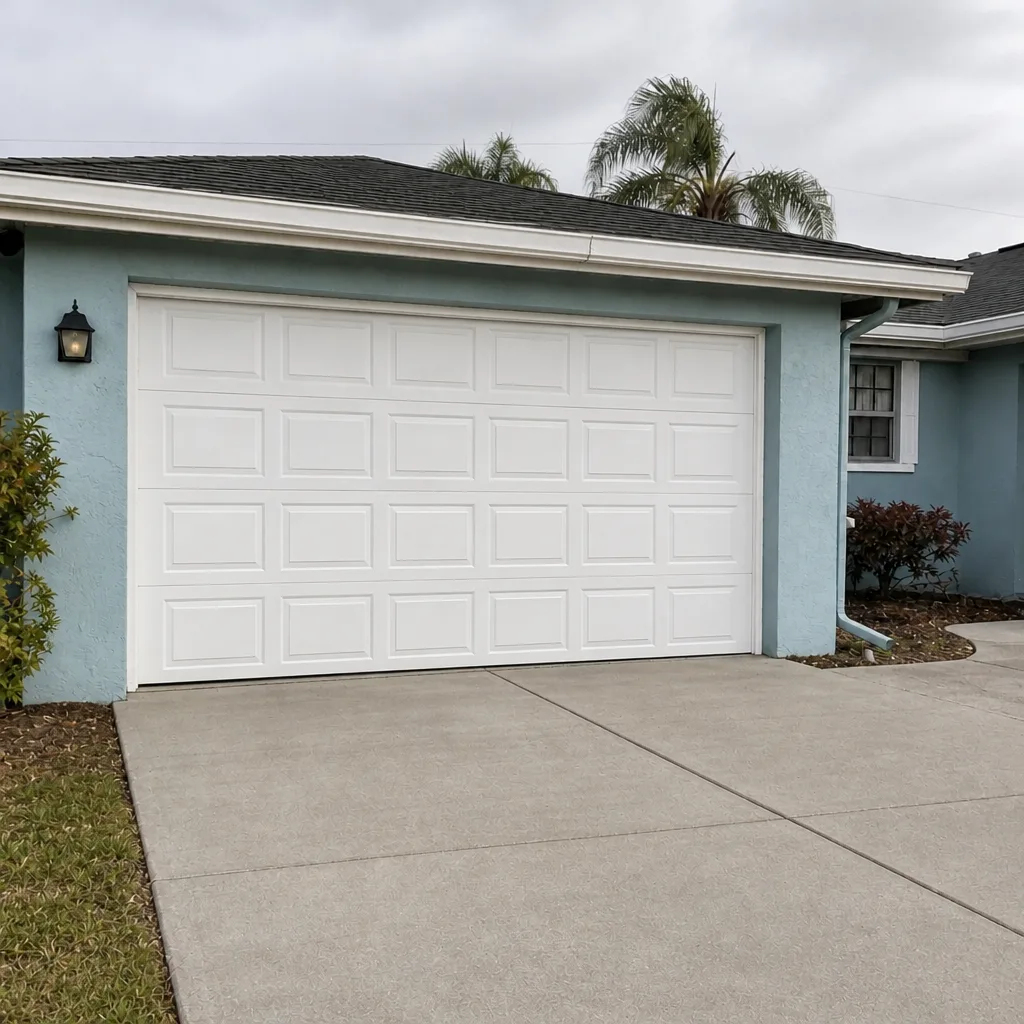 After
When to Call a Professional
Some situations don’t need a judgment call. Any of these should get a phone call, not a toolbox.
Call a technician if the door won’t lift easily by hand. If you hear a loud snap and the door suddenly feels heavy, a spring has failed. If the door is crooked, off-track, or hanging at an angle. If a cable is frayed, kinked, or unhooked. If the opener reverses for no reason and the photo-eyes are clean. If you’re planning a panel or full-door replacement that might affect your windstorm rating. If the door was hit by a vehicle or a storm-driven object. If you’re not sure whether the job is DIY-safe.
Cape Coral Garage Door Repair Co offers free estimates in Cape Coral – call (855) 658-4296. We answer 24/7. Fast dispatch from 7am to 7pm, Sunday through Friday. The price is quoted and agreed before any work starts, so the number on the estimate is the number on the invoice. Spring repair is handled in-house with proper tooling, and parts are sourced to avoid the multi-visit delays that stall most repairs.
Frequently Asked Questions
No, replacing torsion or extension springs yourself is not safe. The spring system stores enough energy to cause serious injury in under a second, and the winding process requires specific tools (winding bars) and experience to control. Spring repair is a trained-technician job – if you suspect a spring has failed, stop using the door and call (855) 658-4296 for a free estimate.
It can, because the garage door is part of the building envelope and the door’s wind-load rating may be tied to your windstorm mitigation documentation. Contact your insurance carrier before ordering a replacement panel, ask whether the change requires documentation or a re-rated assembly, and keep the manufacturer’s rating sheet. If you’re unsure, we can walk through the options during a free estimate.
The safe DIY list in Cape Coral covers bottom seals, lubrication, photo-eye alignment, travel limit resets, keypad and remote programming, light bulbs, and gentle hinge tightening. Everything on the spring line – springs, cables, drums, bottom brackets, center bearing plates – is out of scope. If a task involves stored tension or the door’s weight, it belongs with a technician.
Pricing in Cape Coral depends on the job – spring, opener, cable, panel, or tune-up – and every situation is a little different, so the honest answer is that we quote each job individually. What we can promise is that the price is written down and agreed before any work starts, and the estimate is free. Call (855) 658-4296 for a specific number.
Yes. We work on the eight most common residential brands: LiftMaster, Chamberlain, Genie, Clopay, Amarr, Wayne Dalton, Craftsman, and Raynor. That covers both the smart-home openers and the legacy models still running in most Cape Coral garages, so you don’t need to replace a working unit just to get it serviced.
Most common repairs – a spring replacement, a roller and hinge refresh, a photo-eye or travel limit fix, an opener capacitor swap – are handled in a single visit. That’s one reason we source parts ahead of time instead of ordering after arrival. If a part needs a special order, we’ll tell you that before scheduling, not after. Call (855) 658-4296 to talk through the job.
The Bottom Line
The DIY line on a garage door isn’t about skill – it’s about stored energy and insurance consequence. Safely handleable tasks in Cape Coral are limited to seals, lubrication, photo-eye alignment, opener programming, and gentle hardware work. Everything on the spring line belongs with a trained technician, and panel replacement that might change your windstorm rating deserves a call to your insurer before it deserves a call to a hardware store. When in doubt, ask us. The estimate is free, the price is quoted in writing before any work starts, and we’d rather tell you it’s a DIY job than sell you one you don’t need.
Call (855) 658-4296 for a free estimate. We answer 24/7. Fast dispatch from 7am to 7pm, Sunday through Friday. From the opener to the spring to the panel, we service the brand you already have, and we repair first – replacement only when it makes sense.
Written by the team at Cape Coral Garage Door Repair Co.