
Last updated November 21, 2026
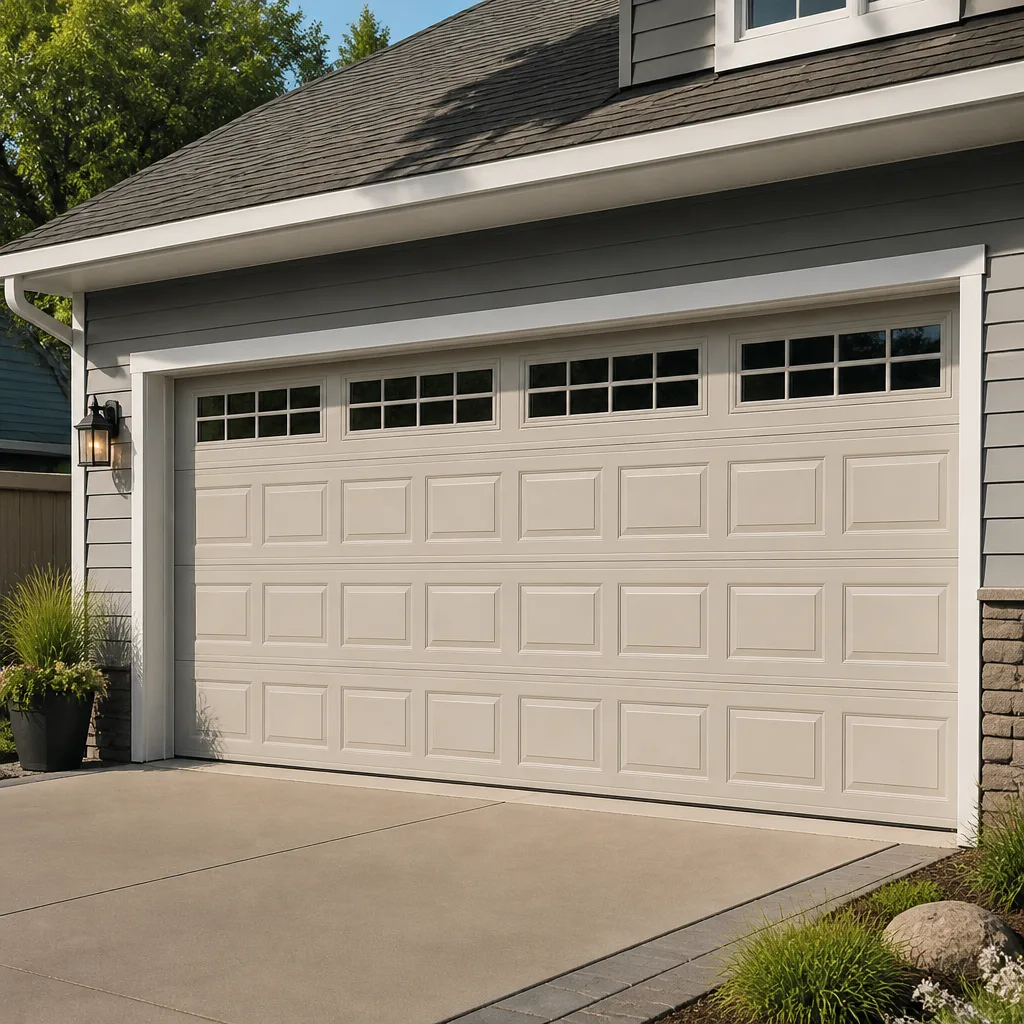 Raised-panel steel
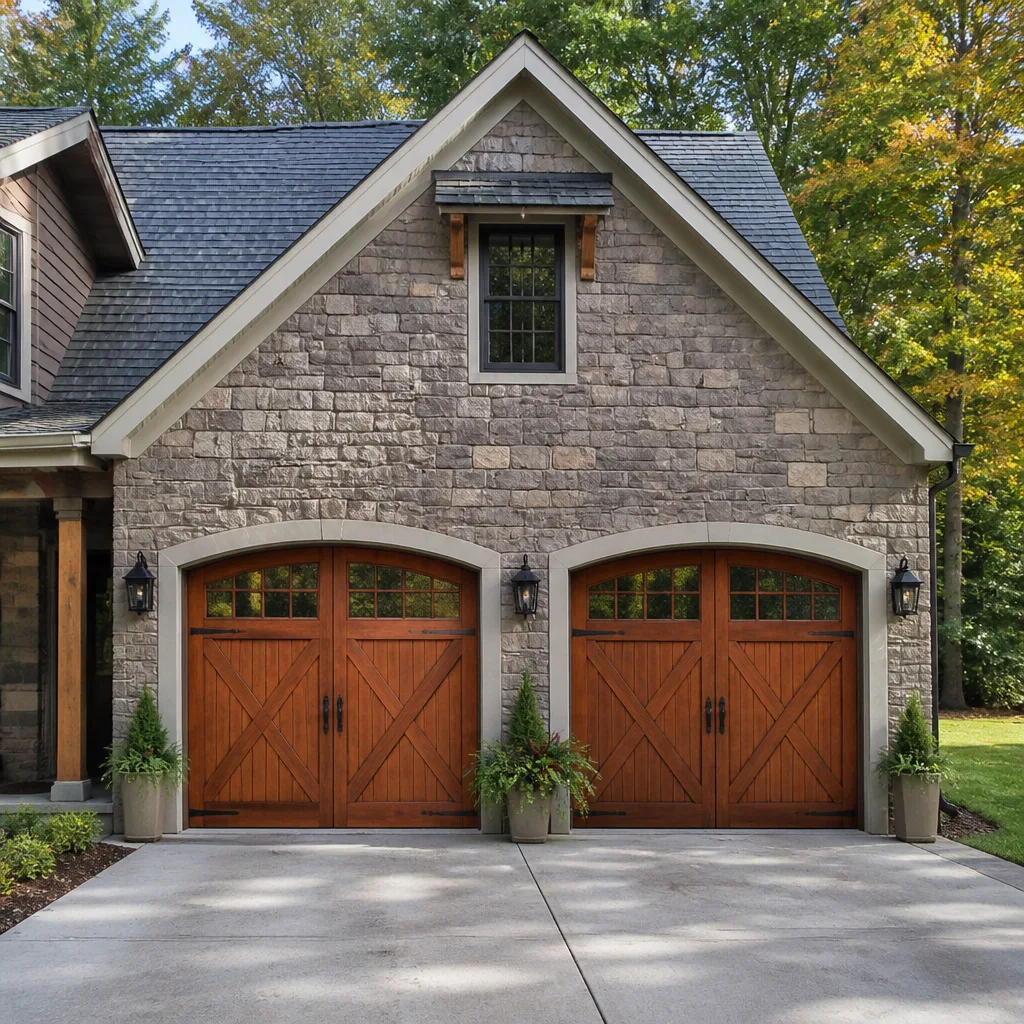 Carriage house
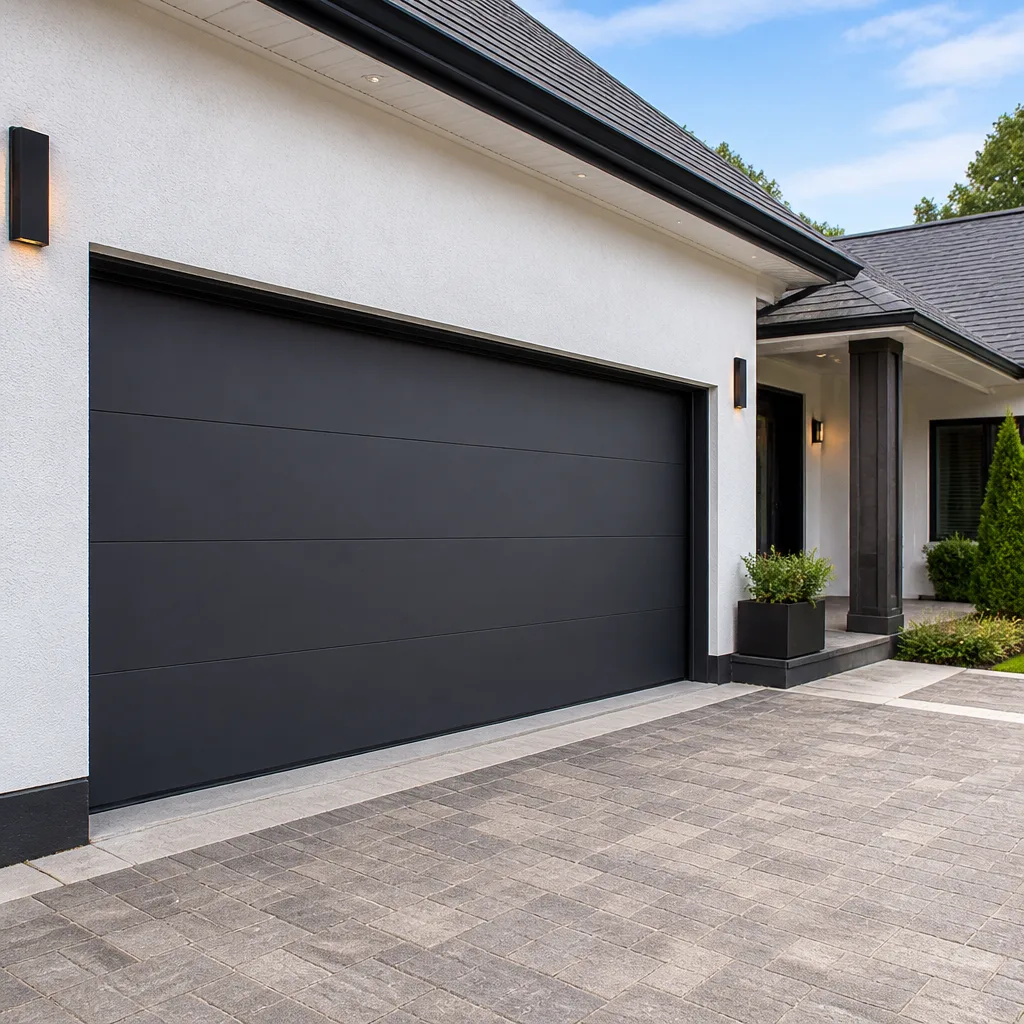 Modern flush
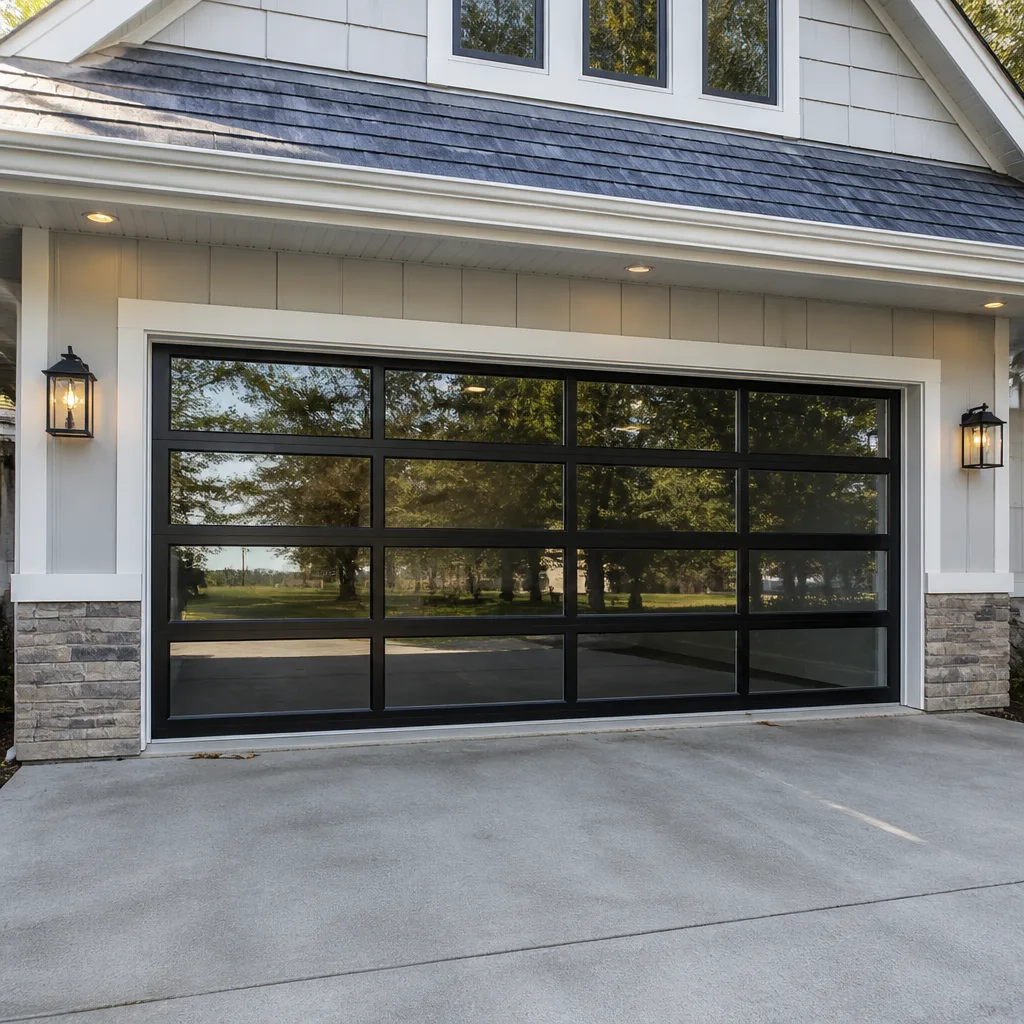 Full-view glass
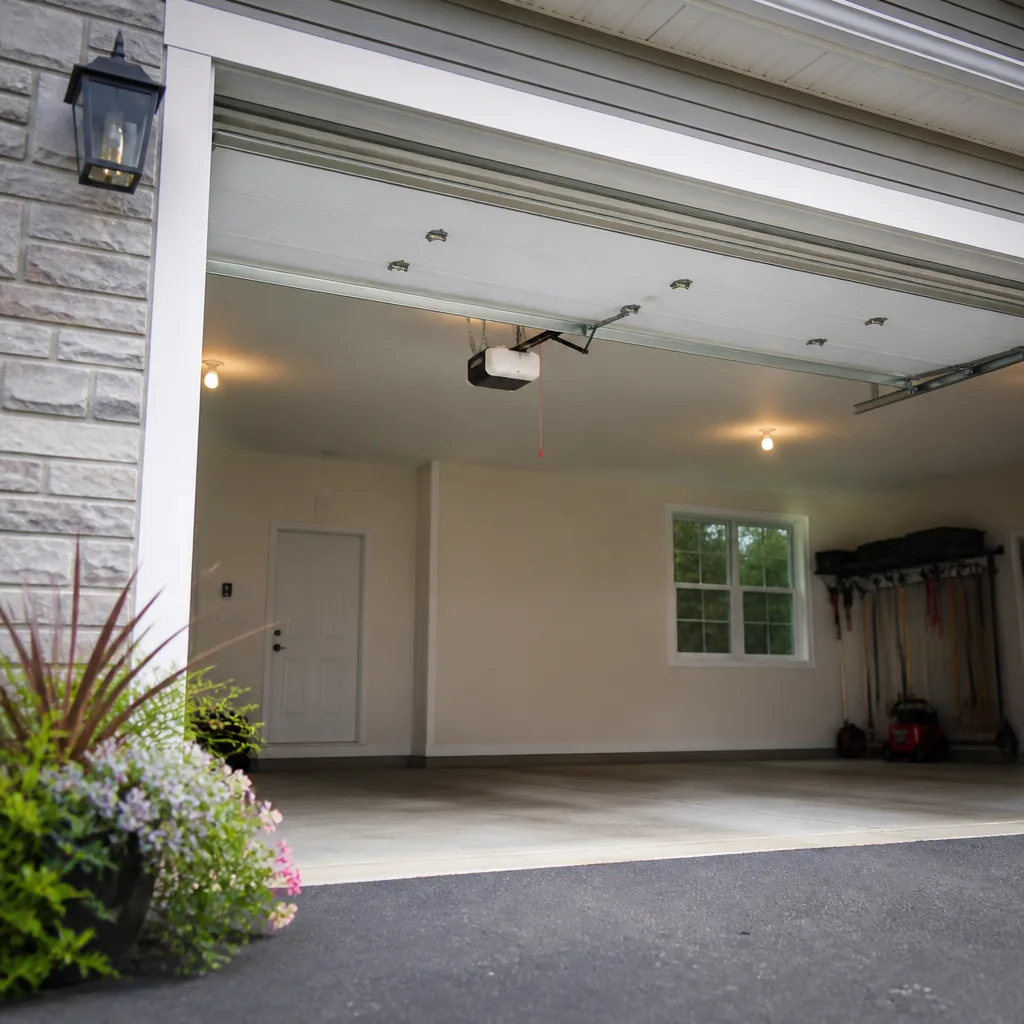 LiftMaster openers
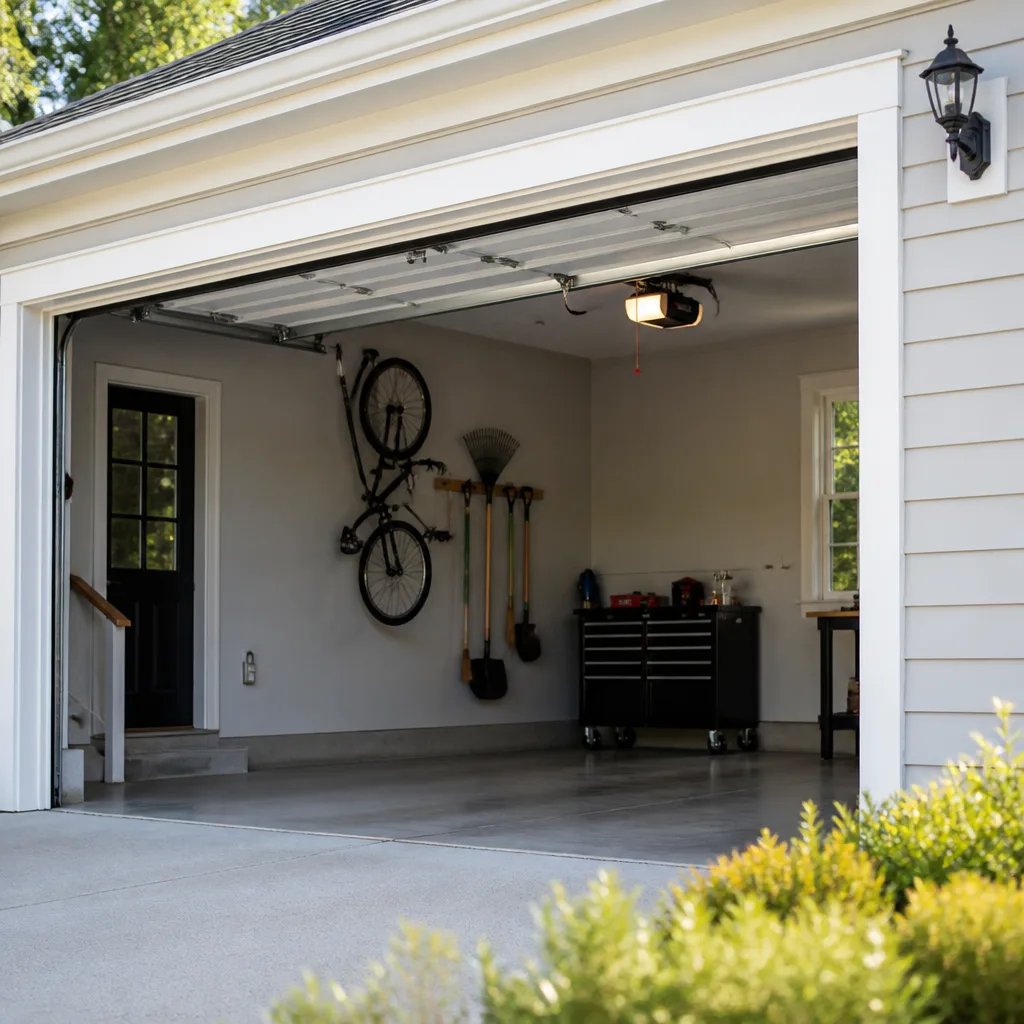 Chamberlain openers
Full 25-point door and opener safety check with every visit - springs, cables, rollers, tracks, and your LiftMaster or Chamberlain opener included
You get a price before we start. It does not change when the pro arrives.
Get your free estimateGarage Door Repair Maintenance Checklist for Cape Coral Homeowners
The biggest maintenance mistake we see in Cape Coral isn’t skipped lubrication. It’s using the wrong lubricant. A wet, humid climate and an unconditioned garage turn a well-meant spray of the wrong product into a dust magnet that traps moisture against the springs and speeds up rust instead of stopping it. That one habit explains a surprising share of the spring and roller problems we get called about in Cape Coral. This guide walks through the checklists our technicians actually run, organized by how often you should do them: what to look at monthly, what to look at twice a year, and what should always go to a trained technician. It covers springs, seals, openers, and the hardware in between.
Styles & brands we work with
- Raised-panel steel
- Carriage house
- Modern flush
- Full-view glass
- LiftMaster openers
- Chamberlain openers
Quick Answer
A garage door maintenance checklist for Cape Coral homeowners should cover four things every month: spring condition (rust, pitting, wear), bottom seal and weatherstripping integrity, roller and hinge condition, and the opener’s force and auto-reverse settings. Twice a year, check the balance of the door by hand, tighten all bolts, and clear and lubricate the tracks and moving parts. Everything involving torsion springs, cables, and opener wiring should be handled by a trained technician, not by the homeowner.
Table of Contents
- Why a Cape Coral Garage Door Ages Differently
- The Right Lubricants (and the Ones That Backfire)
- How to Read Your Springs for Early Failure Signs
- Bottom Seals and Weatherstripping in Heavy Rain
- Opener Force and Auto-Reverse Test: Pass/Fail Benchmarks
- Rollers, Hinges, Tracks, and Bolts
- The Seasonal Cadence: Monthly, Twice-Yearly, and Pro-Only
- Common Mistakes to Avoid
- When to Call a Professional
- Frequently Asked Questions
Why a Cape Coral Garage Door Ages Differently
A garage door in Cape Coral deals with conditions that a door in a dry inland city never sees. Year-round humidity keeps metal surfaces in a constant state of near-condensation, especially overnight. The garage itself is often the hottest, most humid room in the house, and it’s usually unconditioned. Warm moist air meets cool springs and hinges, and moisture starts collecting in the tightest crevices where you can’t see it.
Heavy seasonal rain adds another layer. Every storm pushes water against the bottom seal, and a seal that’s even slightly worn lets water into the track and along the bottom panel. Left alone, that’s how you get the quiet rust problems that turn into a snapped spring six months down the line.
The result is that maintenance intervals that make sense elsewhere are too long for Cape Coral. A door in a dry climate might get away with a twice-a-year inspection. A door in Cape Coral benefits from a monthly five-minute visual check, especially in the warmer months when humidity runs high and the air conditioning inside the house pulls moisture into the garage through wall gaps.
That said, this isn’t a reason to panic or to replace a healthy door. It’s a reason to look at the right things, on the right schedule, with the right products. Our technicians have up to 14 years of experience working on the door brands local homeowners actually own, including Chamberlain, Genie, Clopay, and Amarr systems, and the failure patterns below come from what we’ve seen repeat across Cape Coral homes.
The Right Lubricants (and the Ones That Backfire)
Lubricant choice matters more in Cape Coral than almost anywhere else in the country. The wrong product doesn’t just fail to protect. It actively creates problems by attracting grit and holding moisture against metal.
What works
- Silicone-based spray lubricant – the standard for hinges, rollers, and tracks. It stays slick in humid air, doesn’t attract dust the way grease does, and stays where you spray it.
- White lithium grease – good for metal-to-metal contact at hinges and bearing plates. Apply a thin film only; a heavy coat just collects grit.
- Dry PTFE lubricant – dries to a powdery film that repels moisture and dust. Excellent for torsion spring coils and cable contact points in humid climates.
- Purpose-made garage door spring spray – some brands sell spray specifically formulated for torsion springs; ask a technician what’s suitable for your springs before using anything on them.
What to avoid
- WD-40 or generic multi-use oil sprays – these are light solvents, not real lubricants for high-tension parts. They evaporate, dry out the metal, and leave a sticky residue that attracts dust.
- Heavy engine grease – traps grit, congeals in cool air, and turns the track into a grime magnet.
- Petroleum-based household oils – attract and hold dust; in Cape Coral’s humidity they mix with moisture and create a thin corrosive layer on springs.
- Cooking spray – a shortcut you’ll see online; it works for a week and then attracts insects and grime. Not worth it.
Springs themselves are a special case. Never spray lubricant onto a spring without first understanding its state. If the spring is already pitted with rust, adding lubricant hides the damage, and you won’t know it’s near failure until it snaps. A clear inspection first, then a light protective coat if the spring is sound, is the right order.
How to Read Your Springs for Early Failure Signs
Torsion springs are the coiled metal bars mounted horizontally above the door. Extension springs run along the tracks above the door on each side. Both do the heavy lifting, and both are the most dangerous part of any garage door system. If a spring is worn, it can fail without warning, with enough force to cause serious injury.
Here’s what to look for on a visual inspection. You’re reading the surface, not touching the spring.
- Rust pitting. Look for dark orange or brown pits, not a uniform surface discoloration. Pitting means rust has eaten into the metal. Get a professional opinion immediately, because pitting is the strongest sign a spring is close to failing.
- Powder rust. A fine orange dust on or around the spring is a warning that corrosion is actively progressing. Clean it if you’re confident it’s benign, but if you see it twice in the same spot, treat it as a call-for-repair signal.
- Gaps in the coil – torsion springs should be wound tightly. Visible separation between coils affects tension.
- Uneven door lift. If the door lifts higher on one side than the other, one spring may be losing tension.
- Sound. A loud pop or clang from above the door is the sound of a spring failing. Stop using the door and call a professional immediately.
- Paint stress marks. The spring is painted; any cracking or peeling paint near the coil ends is worth a closer look.
On springs, this is a “read, don’t’ touch” service. Do not try to remove, adjust, or unwind a torsion spring yourself, no matter how confident you feel. The stored energy is enough to cause severe injury, and this is precisely why spring repair is a named service here rather than a side job. If the spring needs attention, garage door repair is the call. Our technicians handle spring repair in-house, with the trained care the job needs.
Bottom Seals and Weatherstripping in Heavy Rain
The bottom seal is the rubber strip along the lower edge of the door. It’s the first line of defense against rain, bugs, and pests. In Cape Coral’s heavy seasonal rain, a worn seal is a real problem. Water gets under the door, rusts the bottom panel, and warps wood or softens insulation in the lower section.
Monthly seal check:
- Look for cracks, tears, or flat spots in the rubber. A seal should look plump and spring back when pressed (with the door fully open, never while moving).
- Check the door’s contact with the floor: close the door and look for daylight gaps or visible light underneath. Any gap is a leak.
- Check the frame weatherstripping on the sides and top. Look for peeling, tears, or gaps that would let wind-driven rain in.
- Look for staining at the bottom 6 inches of the door panel, which is where moisture intrusion shows first.
Replacing a bottom seal is one of the more straightforward maintenance tasks, but the fit has to be right. A seal that’s too thick or too thin interferes with the door’s auto-reverse. If you’re not sure of the exact replacement for your door, we carry matching seals for common brands like Clopay and can supply the correct part with a service visit.
On the storm side, remember the door is part of your storm preparation. In a high-wind event, a worn or unbalanced door is more likely to fail. If your area is under a storm warning and your door hasn’t had a recent inspection, that’s a good reason to book a tune-up before the season.
Opener Force and Auto-Reverse Test: Pass/Fail Benchmarks
The auto-reverse test is the single most important safety check you can do on an opener. It verifies the door will reverse if it meets an obstruction while closing. People and pets are the reason this matters.
Here’s the standard pass/fail test, done with the door in good condition and the springs sound:
- Open the door fully. Make sure nothing is in the way and the springs are working.
- Place a 2×4 flat on the ground directly under the center of the door.
- Close the door with the remote or wall button. The door should reverse direction when it contacts the wood.
- Pass: the door reverses and travels back up without hesitation within about 2 inches of contact.
- Fail: the door stalls, struggles, or continues pressing on the wood. Stop using the opener and call for repair.
The photo-eye test is separate. With the door open, wave an object (or a hand, calmly) across the sensors at the bottom of the track. The door should not close while the path is blocked. If it does, the sensors are misaligned, dirty, or the wiring is faulty.
Force settings on modern openers from Chamberlain, LiftMaster, Genie, and Craftsman are adjustable from a control panel or app. Do not turn them up just to make a heavy or binding door close. That hides a deeper problem, whether it’s worn springs or binding rollers, and wearing the motor out. Auto-reverse testing should be done monthly; if either test fails, get the opener looked at by a trained technician.
Rollers, Hinges, Tracks, and Bolts
The mechanical layer of a garage door is easy to overlook, but these components take a beating in a Cape Coral climate and a daily-use door. Here’s what to look for.
Rollers
You have nylon or steel rollers along the sides. Nylon rollers are the modern default: quieter and lubrication-free. Steel rollers need periodic lubrication and can rust. Check for:
- Visible flat spots or cracks in the roller wheels
- Wobble when the door is in motion (rollers should ride smoothly)
- Rust or grinding sounds from the bearings
Hinges and brackets
Hinges connect the door panels. Look for rust, cracks, or loose screws. A hinge that’s failing will make the door slap or squeal as it moves. Tighten screws, but stop if the screw hole itself has rotted out; a stripped hole calls for a new hinge or bracket.
Tracks
The tracks are two vertical rails plus the horizontal curve that carries the door back into the garage. Tracks go out of alignment when a car clips a corner or the door slams. Check for dents, kinks, or out-of-alignment sections. Never force a door through a bent track.
Bolts and fasteners
Every couple of months, check all visible bolts on the track brackets, hinges, and opener rail. In a humid environment, metal fasteners loosen with repeated thermal cycling. Tighten with a socket or wrench. Don’t over-tighten, and don’t tighten the spring drum bolts; those are technician territory.
The Seasonal Cadence: Monthly, Twice-Yearly, and Pro-Only
Most garage door maintenance advice gives you one long list. A better approach is knowing exactly what you can do yourself and on what schedule. Here’s the printable cadence we recommend for Cape Coral homeowners.
Monthly (5 minutes)
- Visual spring check: look for new rust, pitting, or gaps
- Bottom seal and side weatherstripping: look for cracks, gaps, and daylight
- Photo-eye test: block the beam and confirm the door won’t close
- Auto-reverse test: place a scrap 2×4 and confirm the door reverses
- Listen for new sounds (pops, grinding, squeals)
Twice a year (30 minutes)
- Wipe down springs and hinges and apply a light silicone or PTFE coat (never on a pitted spring)
- Inspect and lubricate rollers if you have steel rollers
- Check and tighten visible bolts on hinges, brackets, and the opener rail
- Clean the tracks with a rag; do not use oil on the track surface
- Balance test: with the door disconnected from the opener, lift it halfway. It should stay in place. If it drops or rises, the springs are unbalanced. Call us.
- Clear the sensors and clean the photo-eye lenses
Pro-only (never DIY)
- Torsion or extension spring removal, adjustment, or replacement
- Any work on cables or the cable drums
- Adjusting the opener’s internal force settings beyond the operator manual guidance
- Replacing the opener unit or its wiring
- Any repair involving a bent or damaged track
- Replacing a failed panel or door section
If you can’t recall the last time your door had a professional once-over, it’s worth having a technician check the whole system in one visit. That’s often the most efficient way to catch small issues before they compound.
Common Mistakes to Avoid
- Using a wet lubricant (WD-40, cooking spray) on springs and tracks. In Cape Coral’s humidity, wet oils trap dust, hold moisture, and speed up corrosion instead of slowing it.
- Ignoring early rust pitting on springs. A pitted spring is often 60-90 days from failing. Treat it as a scheduling item, not a someday item.
- Turning up the opener force to make a heavy or binding door close. It masks a real mechanical problem and shortens the opener’s life.
- Cutting a worn bottom seal to fit instead of replacing it. A trimmed seal leaks, doesn’t seal properly, and interferes with auto-reverse.
- Trying to lubricate or adjust a torsion spring yourself. This is the most common serious DIY injury on a garage door. Get it done by a trained technician.
- Skipping the auto-reverse test because it “always works.” A safe door reverses. An untested door might not.
- Spraying lubricant on track surfaces. Tracks should be clean and dry. Lubricant on the track collects dust and can cause the rollers to slip.
When to Call a Professional
Some garage door issues are genuinely DIY-friendly: tightening bolts, cleaning tracks, replacing a photo-eye sensor, or swapping a remote battery. Others carry real injury risk or need specialized tools. Call a professional if:
- A spring is pitted, cracked, or has visible gaps between coils
- The door is unbalanced (doesn’t stay halfway open)
- The door raises higher on one side
- You hear a loud pop or clang
- A cable is frayed, loose, or snapped
- The door is stuck partially open or won’t close
- The opener fails the force or auto-reverse tests
- Tracks are bent, dented, or out of alignment
For any of these, Cape Coral Garage Door Repair Co. offers free estimates. Call (855) 658-4296 to schedule an inspection. We’re capable of garage door opener repair across modern and older models, and full garage door installation if a replacement is genuinely the right call. We repair first when repair will get you years of service, and we tell you clearly when a door is done. Our technicians have up to 14 years of experience with the brands most Cape Coral homeowners own.
We answer 24/7. Fast dispatch from 7am to 7pm, Sunday through Friday. We’re closed Saturday, but if your door fails on a Saturday, call and we’ll book the next opening.
Frequently Asked Questions
Once a year is the baseline, but Cape Coral’s humidity pushes that up. We recommend a professional inspection every 12 months, with monthly homeowner checks for springs, seals, and the auto-reverse safety test. If your door is 10 years or older, twice a year is a good pace.
A dry PTFE spray or purpose-made spring spray works best in Cape Coral’s humidity. Avoid WD-40, petroleum-based household oils, and engine grease. Those dry out or attract dust and moisture, which erodes the spring faster. Never apply lubricant to a spring that’s already pitted, because it hides the damage.
Yes, if you can identify the correct replacement part for your door and have basic tools. Position the door fully open, remove the old seal, and install the matching one. If the fit interferes with the door’s auto-reverse, call a technician; the seal has to be the right thickness and profile, which we can supply.
Place a 2×4 flat on the ground directly under the door. Close the door with the remote. The door should reverse direction within 2 inches of contacting the wood. If it keeps pushing, the opener force setting or the mechanism needs attention. Don’t turn the force up to fix it; call for repair.
Yes, more than in dry climates. The humidity plus seasonal rain creates near-constant condensation conditions. Steel springs, hinges, and rollers are susceptible. Monthly visual checks for pitting and rust powder on the spring, and lubricating sound metal surfaces, are the two things that make the biggest difference. For rust visible on structural parts, call a professional.
The strongest sign is pitting: dark orange-brown spots on the spring surface rather than a uniform color change. A pitted spring is often 60-90 days from failure. Several other signs matter too: visible gaps between coils, the door lifting unevenly, or a loud pop. If you see any of these, call us for a free estimate before you use the door again.
No. Torsion springs store a significant amount of energy, and adjusting or removing one is the most common serious injury in garage door work. This is a job for a trained technician. Cape Coral Garage Door Repair Co. handles spring repair in-house; call (855) 658-4296 for a free estimate.
Pricing depends on the work performed. The most reliable way to know is a free estimate: we inspect the door and springs, write up what’s needed, and you approve the price before any work starts. Call (855) 658-4296 for an exact estimate. The estimate is free and there’s no obligation.
The Bottom Line
A garage door maintenance checklist for Cape Coral should be built around the local climate, not a generic list. The two biggest leverage points are lubricant choice (dry PTFE and silicone, not wet sprays) and early spring inspection (pitting means 60-90 days, not “someday”). Seal checks matter more here because of heavy rain. Auto-reverse testing should be a monthly habit, not an annual afterthought. Everything that involves springs, cables, or opener force adjustments belongs to a trained technician. Do the easy things yourself, watch the right parts of the door, and call when the signs say it’s time. Cape Coral Garage Door Repair Co. can help with the rest: we work on Chamberlain, Genie, Clopay, Amarr, LiftMaster, Wayne Dalton, Craftsman, and Raynor systems, and we offer free estimates. Call (855) 658-4296. We answer 24/7, and fast dispatch runs from 7am to 7pm, Sunday through Friday.
For anything beyond a simple tighten-and-lubricate job, the Cape Coral Garage Door Repair Co team can inspect and quote in one visit.
Written by the team at Cape Coral Garage Door Repair Co.
See the difference
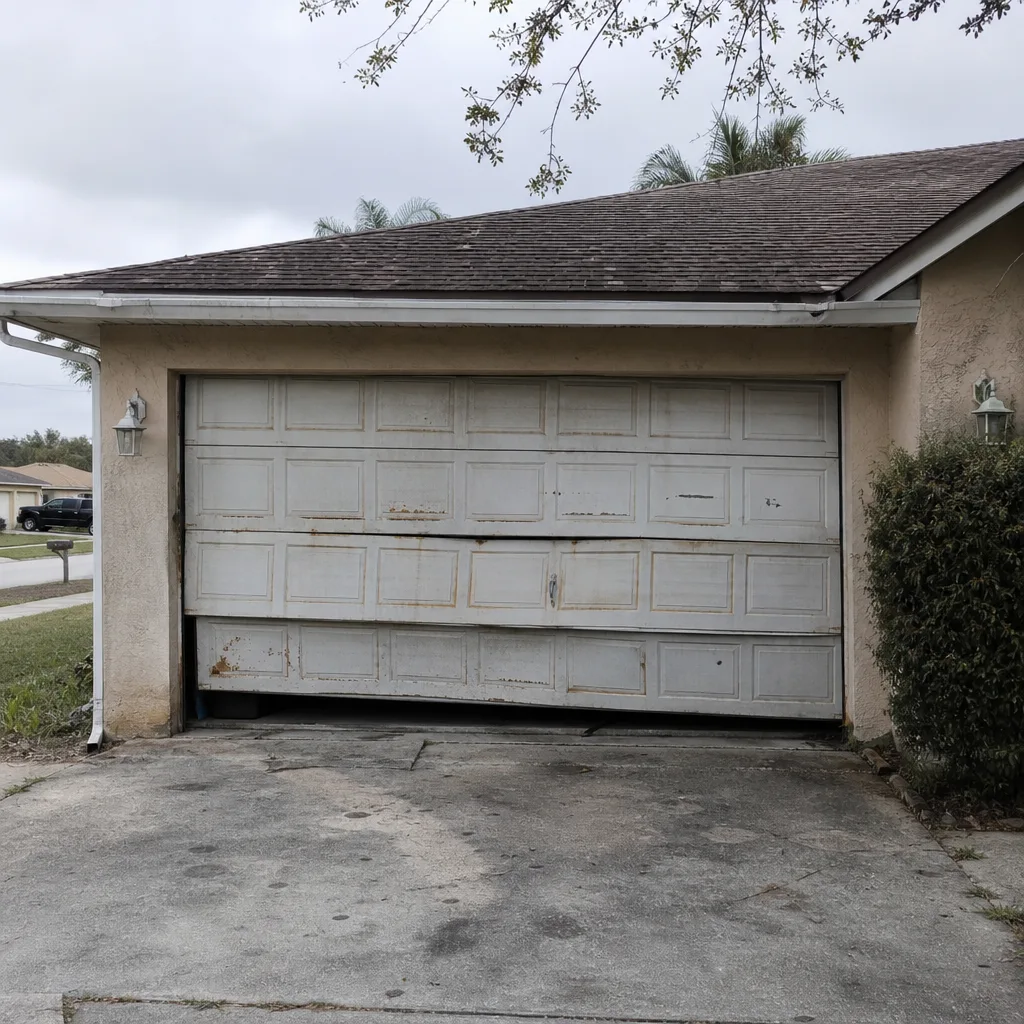 Before
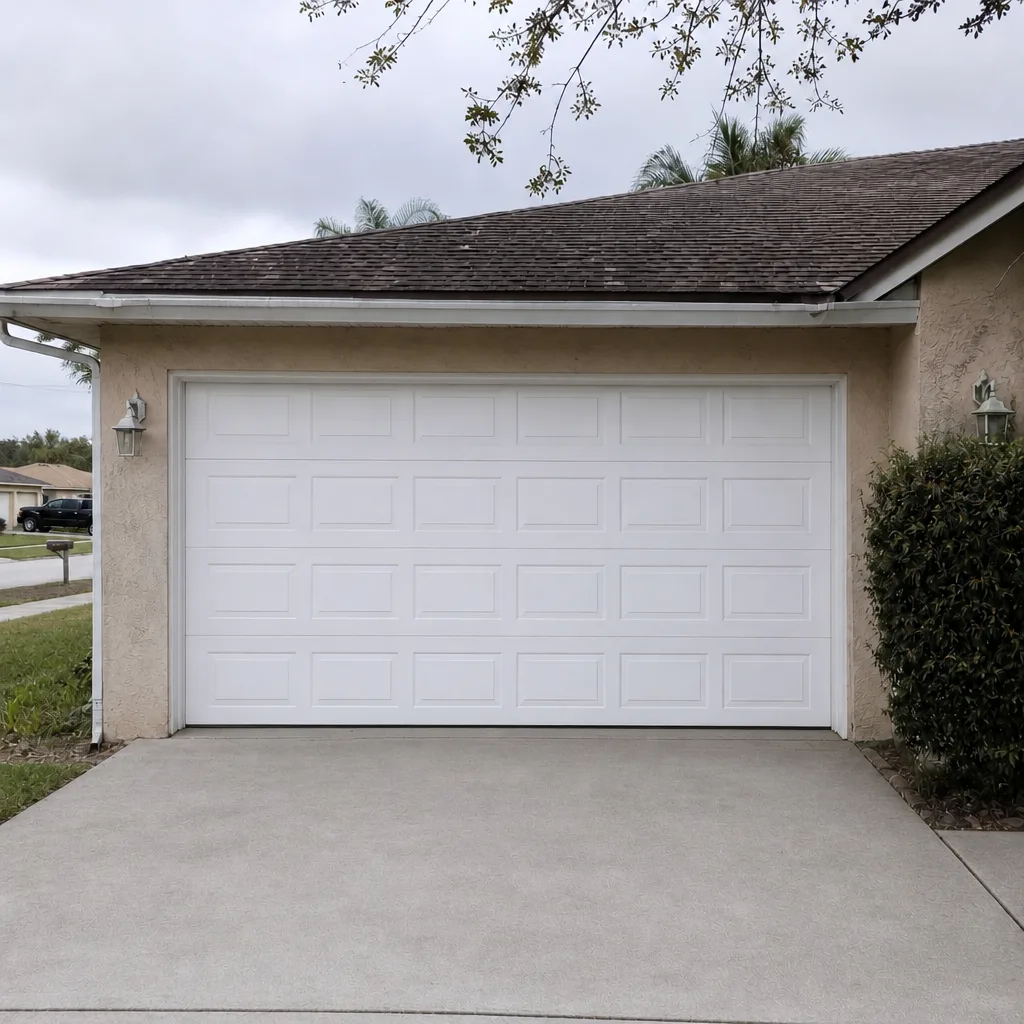 After
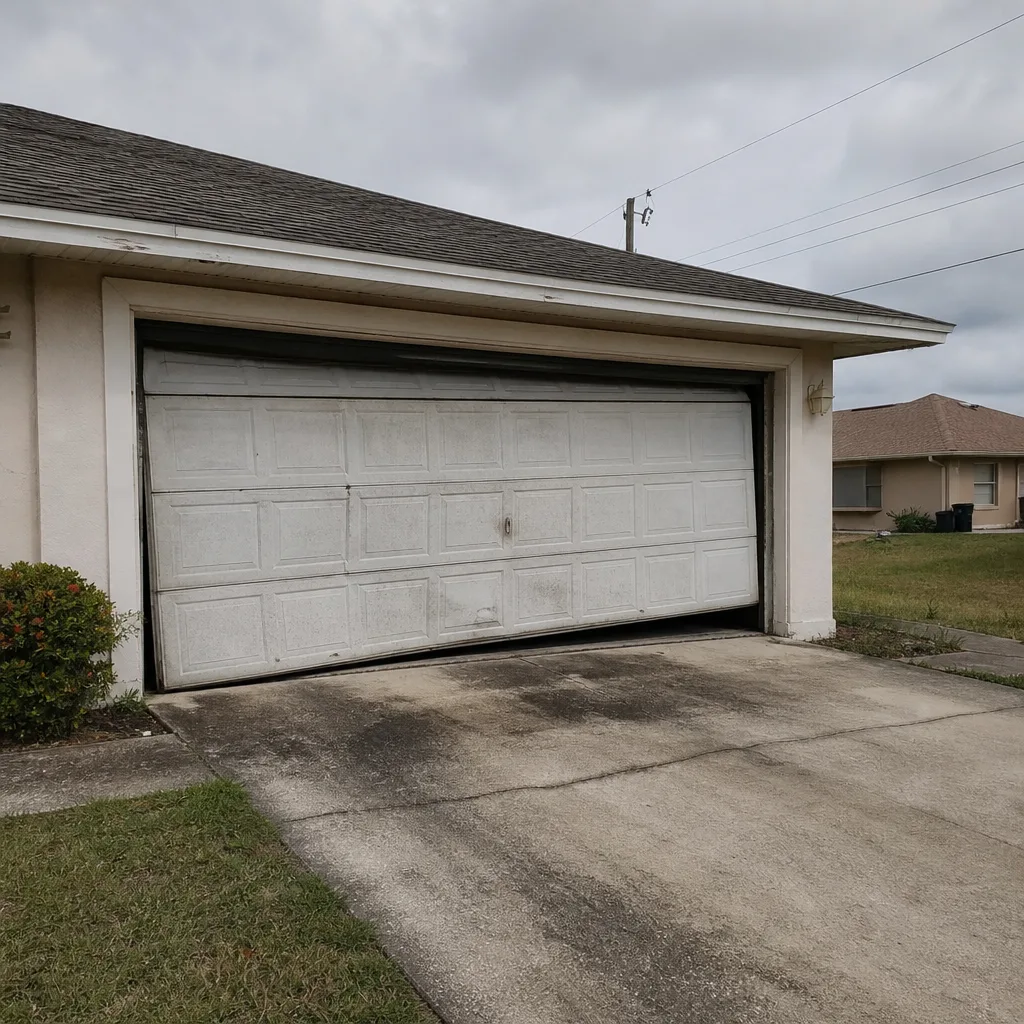 Before
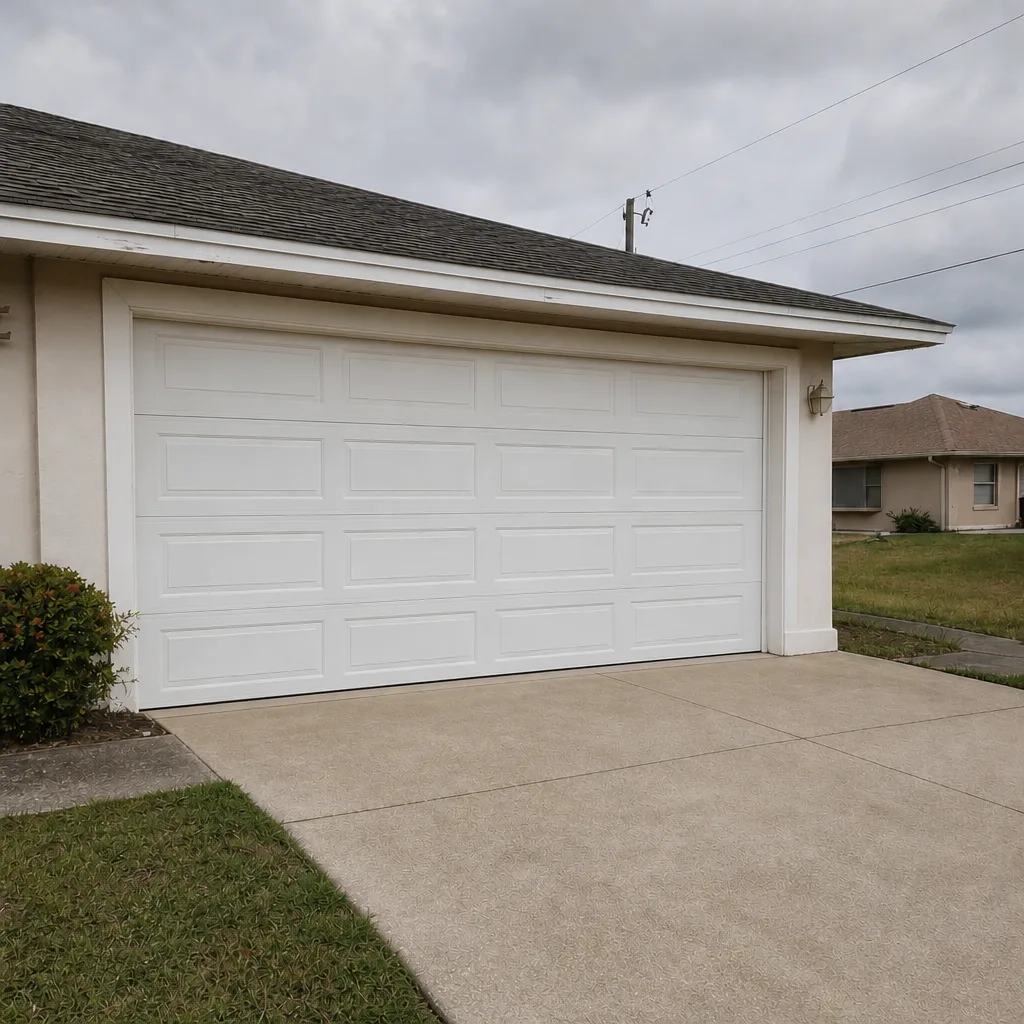 After
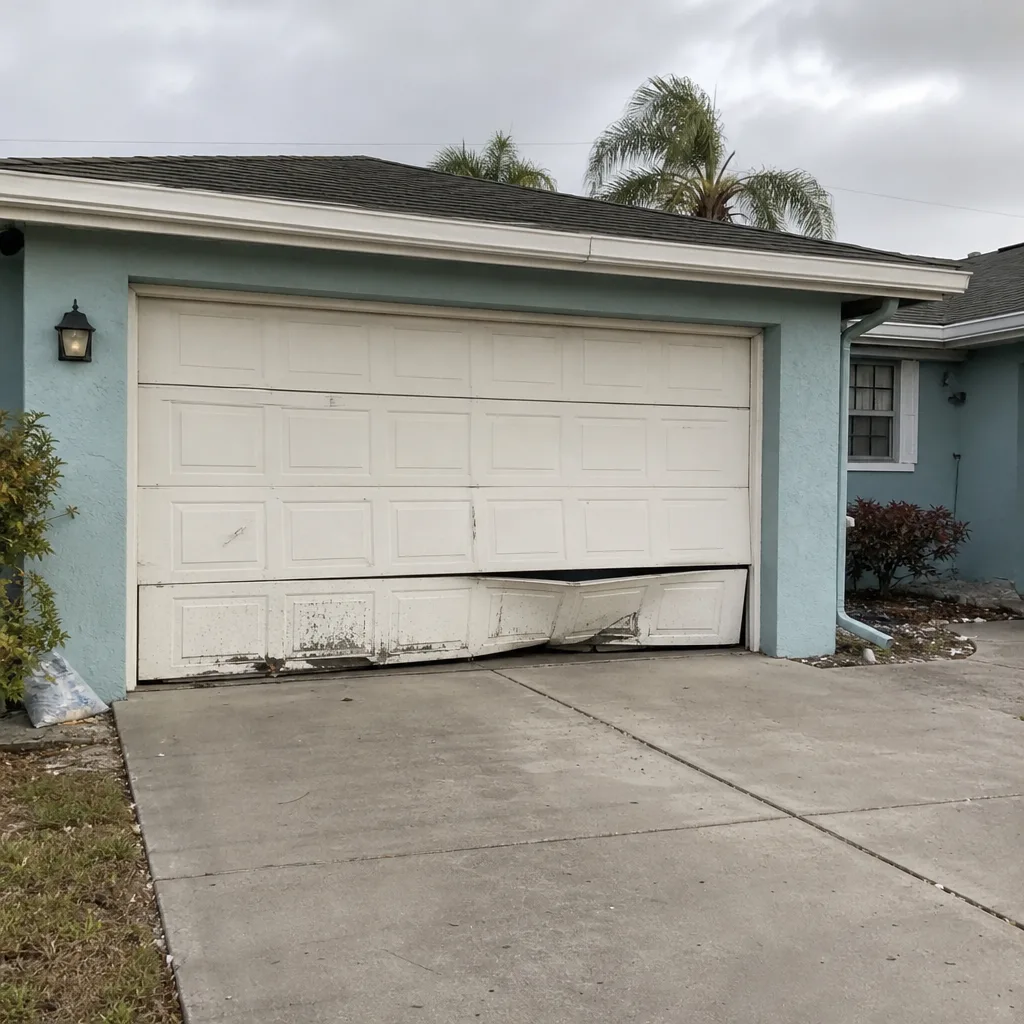 Before
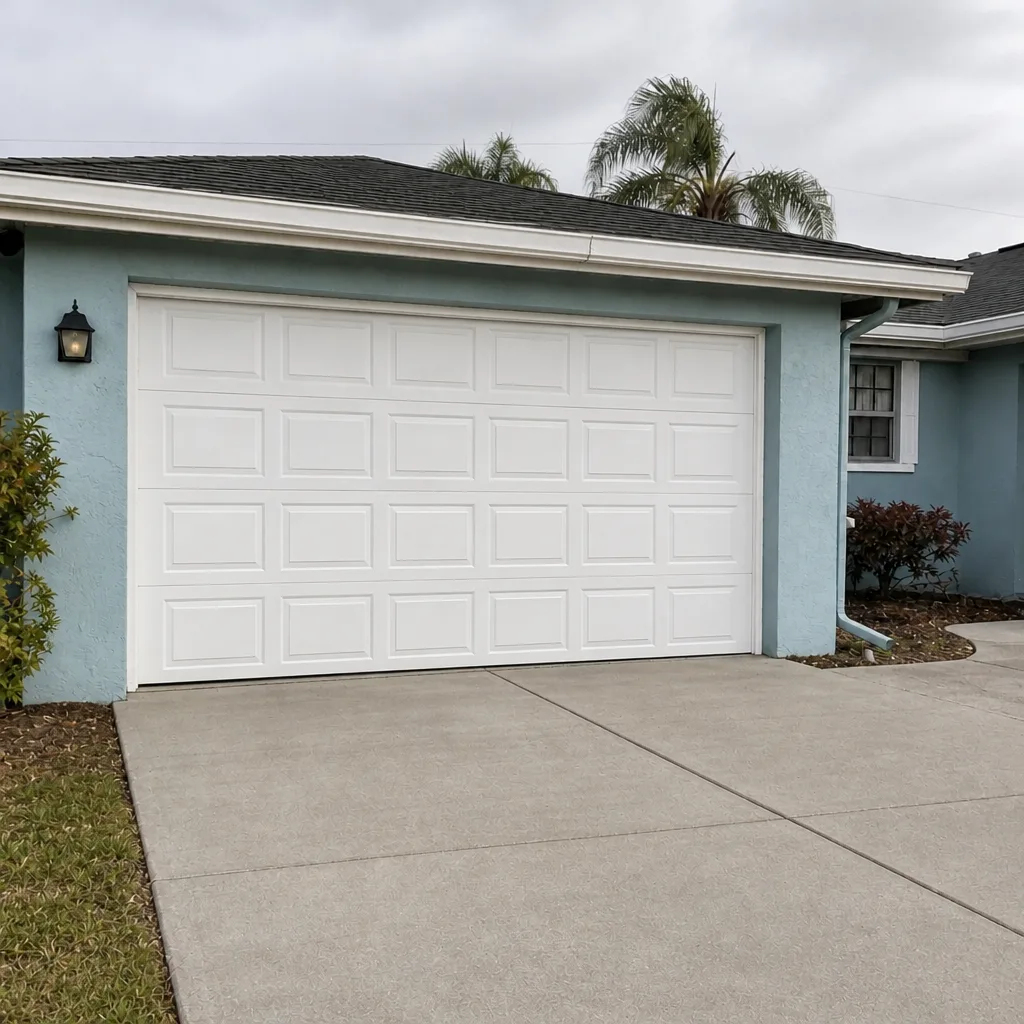 After